
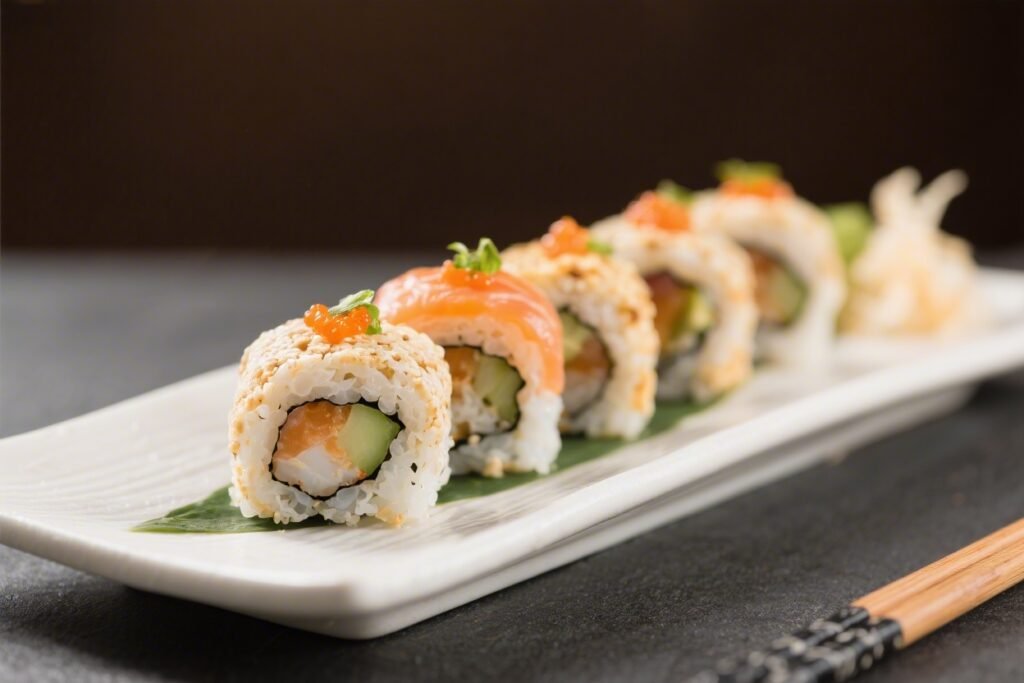
Sushi at home can be simple, fun, and fully gluten-free with a few smart swaps. If you love clean flavors and fresh textures, these rolls deliver all the joy of your favorite sushi bar without the guesswork. You’ll learn which ingredients to pick, how to prep the rice, and how to roll everything up neatly.
No special chef skills needed—just a little patience and a sharp knife. Whether you’re gluten-free by choice or necessity, this recipe lets everyone at the table enjoy.

Gluten-Free Sushi Rolls – Fresh, Simple, and Satisfying
Ingredients
- Nori sheets (full-size, roasted seaweed)
- Sushi rice (short-grain Japanese rice)
- Rice vinegar (check that it’s plain and gluten-free)
- Sugar and salt (for seasoning the rice)
- Fillings (choose a few): Cucumber, cut into thin matchsticks
- Avocado, sliced
- Carrots, peeled and julienned
- Cooked shrimp or crab (real crab, not imitation)
- Tuna or salmon (sushi-grade if using raw; otherwise use canned tuna in water)
- Tofu (pressed and pan-seared), or smoked salmon
- Scallions or chives, thinly sliced
- Gluten-free tamari or coconut aminos (for dipping)
- Gluten-free mayo (optional) and sriracha (check label) for spicy sauce
- Pickled ginger (verify gluten-free) and wasabi (real wasabi or GF-labeled)
- Equipment: bamboo sushi mat (or a clean kitchen towel), plastic wrap, sharp knife, small bowl of water, cutting board
Instructions
- Rinse the rice: Place sushi rice in a bowl and rinse under cold water, swishing until the water runs mostly clear. Drain well.
- Cook the rice: Use a rice cooker or stovetop per package instructions.Aim for rice that’s tender but slightly sticky, not mushy.
- Season the rice: In a small bowl, dissolve 2 tablespoons sugar and 1 teaspoon salt into 1/4 cup rice vinegar. Gently fold this into the warm rice with a spatula, using a slicing motion to avoid smashing grains. Let cool to room temperature.
- Prep fillings: Slice cucumber, avocado, and other fillings into thin, even strips.Pat any protein dry with paper towels to avoid soggy rolls.
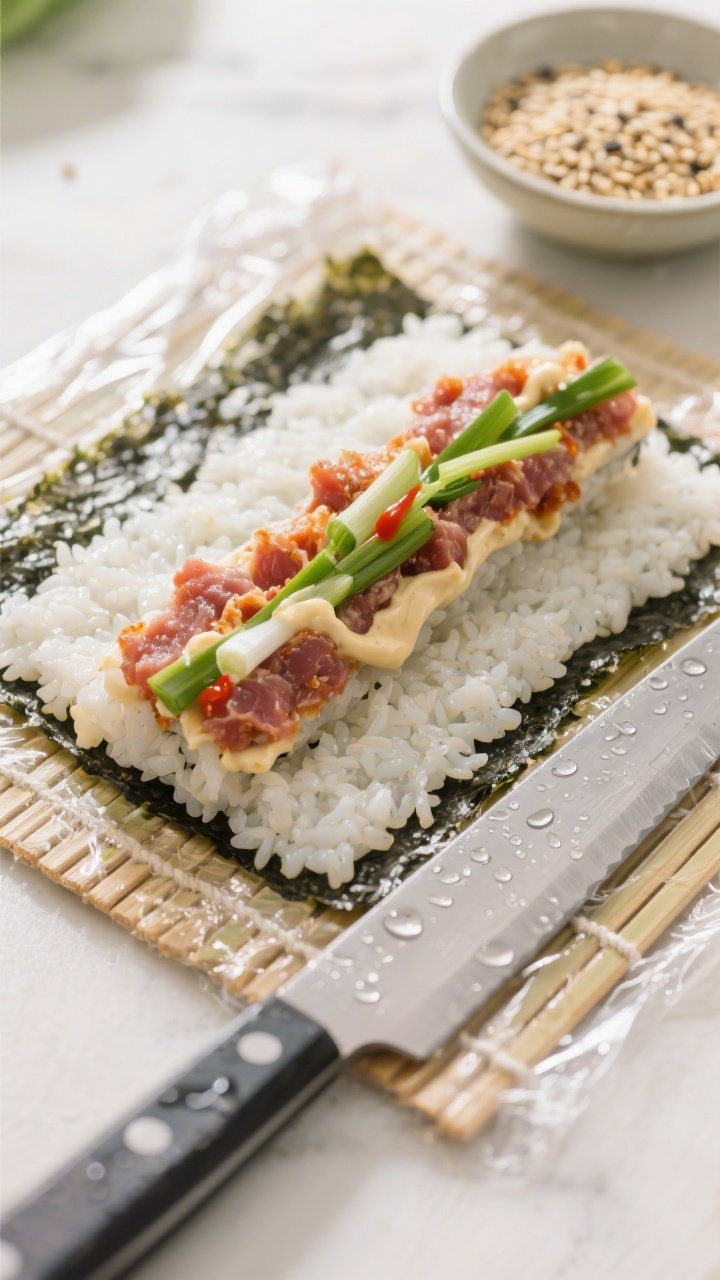
- Set up your station: Wrap a bamboo mat in plastic wrap. Place a small bowl of water nearby to wet your fingers and prevent sticking. Keep a sharp, damp knife ready.
- Lay the nori: Place a nori sheet on the mat, shiny side down, lines running sideways.Wet your fingers, then spread a thin, even layer of rice over about 3/4 of the sheet, leaving the top inch bare for sealing.
- Add fillings: Arrange a few strips of fillings horizontally across the rice, about 1 inch from the bottom edge. Don’t overstuff—two to three items is ideal.
- Roll it up: Lift the mat edge closest to you and roll the nori over the fillings, tucking firmly to create a tight cylinder. Keep rolling while pulling the mat back so it doesn’t get trapped inside.Moisten the top edge of nori and seal.
- Shape and rest: Use the mat to gently press and shape the roll into a uniform log. Let it rest seam-side down for 1–2 minutes to set.
- Slice: With a damp, sharp knife, cut the roll in half, then into 6–8 even pieces. Wipe the blade between cuts for clean slices.
- Garnish and serve: Sprinkle with sesame seeds.Serve with gluten-free tamari or coconut aminos, a little wasabi, and pickled ginger.
- Optional spicy sauce: Mix gluten-free mayo with a drizzle of sriracha. Drizzle or serve on the side.
What Makes This Special
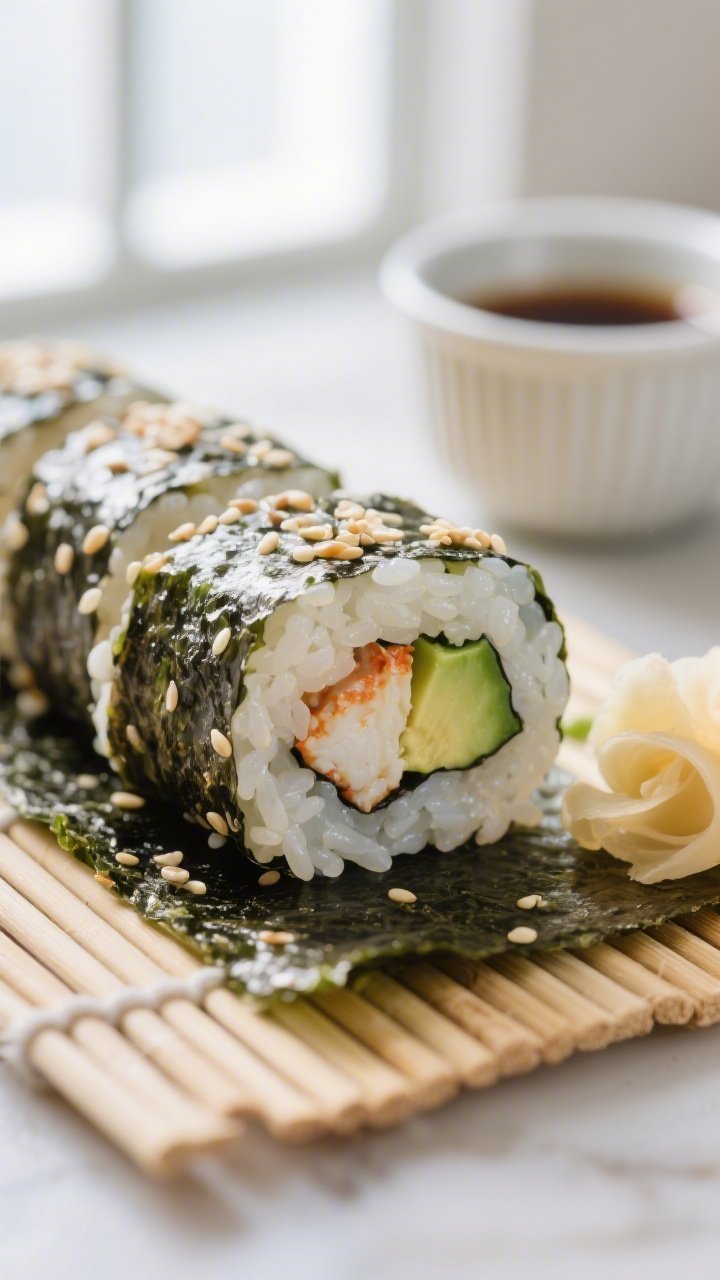
This recipe focuses on smart, accessible ingredients and techniques that work in any kitchen. You’ll use gluten-free tamari or coconut aminos instead of soy sauce, and we’ll avoid sneaky gluten sources like imitation crab and flavored vinegars.
The flavors are bright and customizable, and the rolls hold together beautifully. Best of all, the steps are easy to follow, making this a great weeknight project or a fun weekend activity with friends.
What You’ll Need
- Nori sheets (full-size, roasted seaweed)
- Sushi rice (short-grain Japanese rice)
- Rice vinegar (check that it’s plain and gluten-free)
- Sugar and salt (for seasoning the rice)
- Fillings (choose a few):
- Cucumber, cut into thin matchsticks
- Avocado, sliced
- Carrots, peeled and julienned
- Cooked shrimp or crab (real crab, not imitation)
- Tuna or salmon (sushi-grade if using raw; otherwise use canned tuna in water)
- Tofu (pressed and pan-seared), or smoked salmon
- Scallions or chives, thinly sliced
- Gluten-free tamari or coconut aminos (for dipping)
- Gluten-free mayo (optional) and sriracha (check label) for spicy sauce
- Pickled ginger (verify gluten-free) and wasabi (real wasabi or GF-labeled)
- Sesame seeds (plain; avoid flavored blends)
- Equipment: bamboo sushi mat (or a clean kitchen towel), plastic wrap, sharp knife, small bowl of water, cutting board
Step-by-Step Instructions
- Rinse the rice: Place sushi rice in a bowl and rinse under cold water, swishing until the water runs mostly clear. Drain well.
- Cook the rice: Use a rice cooker or stovetop per package instructions.
Aim for rice that’s tender but slightly sticky, not mushy.
- Season the rice: In a small bowl, dissolve 2 tablespoons sugar and 1 teaspoon salt into 1/4 cup rice vinegar. Gently fold this into the warm rice with a spatula, using a slicing motion to avoid smashing grains. Let cool to room temperature.
- Prep fillings: Slice cucumber, avocado, and other fillings into thin, even strips.
Pat any protein dry with paper towels to avoid soggy rolls.
- Set up your station: Wrap a bamboo mat in plastic wrap. Place a small bowl of water nearby to wet your fingers and prevent sticking. Keep a sharp, damp knife ready.
- Lay the nori: Place a nori sheet on the mat, shiny side down, lines running sideways.
Wet your fingers, then spread a thin, even layer of rice over about 3/4 of the sheet, leaving the top inch bare for sealing.
- Add fillings: Arrange a few strips of fillings horizontally across the rice, about 1 inch from the bottom edge. Don’t overstuff—two to three items is ideal.
- Roll it up: Lift the mat edge closest to you and roll the nori over the fillings, tucking firmly to create a tight cylinder. Keep rolling while pulling the mat back so it doesn’t get trapped inside.
Moisten the top edge of nori and seal.
- Shape and rest: Use the mat to gently press and shape the roll into a uniform log. Let it rest seam-side down for 1–2 minutes to set.
- Slice: With a damp, sharp knife, cut the roll in half, then into 6–8 even pieces. Wipe the blade between cuts for clean slices.
- Garnish and serve: Sprinkle with sesame seeds.
Serve with gluten-free tamari or coconut aminos, a little wasabi, and pickled ginger.
- Optional spicy sauce: Mix gluten-free mayo with a drizzle of sriracha. Drizzle or serve on the side.
How to Store
For best texture, eat sushi the day it’s made. If you have leftovers, wrap tightly in plastic and store in an airtight container in the fridge for up to 24 hours.
Avocado may brown slightly, but it’s still safe. Avoid freezing; it alters the rice and vegetables. If using raw fish, consume within the same day and keep chilled until serving.
Benefits of This Recipe
- Truly gluten-free: Uses tamari or coconut aminos and avoids imitation crab and hidden-gluten sauces.
- Customizable: Mix and match fillings to fit tastes, budgets, and seasonal produce.
- Fresh and balanced: Combines carbs, healthy fats, and protein in tidy portions.
- Approachable: Clear steps, basic tools, and no fancy knife work required.
- Great for meal assembly: Prep fillings ahead and roll just before eating.
Pitfalls to Watch Out For
- Hidden gluten: Check labels on soy sauce, vinegar blends, pickled ginger, imitation crab, and wasabi.
- Soggy rolls: Overcooked rice or wet fillings cause gaps and tearing.
Pat ingredients dry.
- Overfilling: Too much stuffing makes rolling and slicing messy. Keep it modest.
- Dull knife: A dull blade tears nori and smashes rice. Use a sharp, damp knife and clean between cuts.
- Hot rice: Rolling with hot rice steams the nori and turns it chewy.
Let rice cool to room temperature first.
Recipe Variations
- California-Style (GF): Real crab, avocado, cucumber, sesame seeds, and GF mayo.
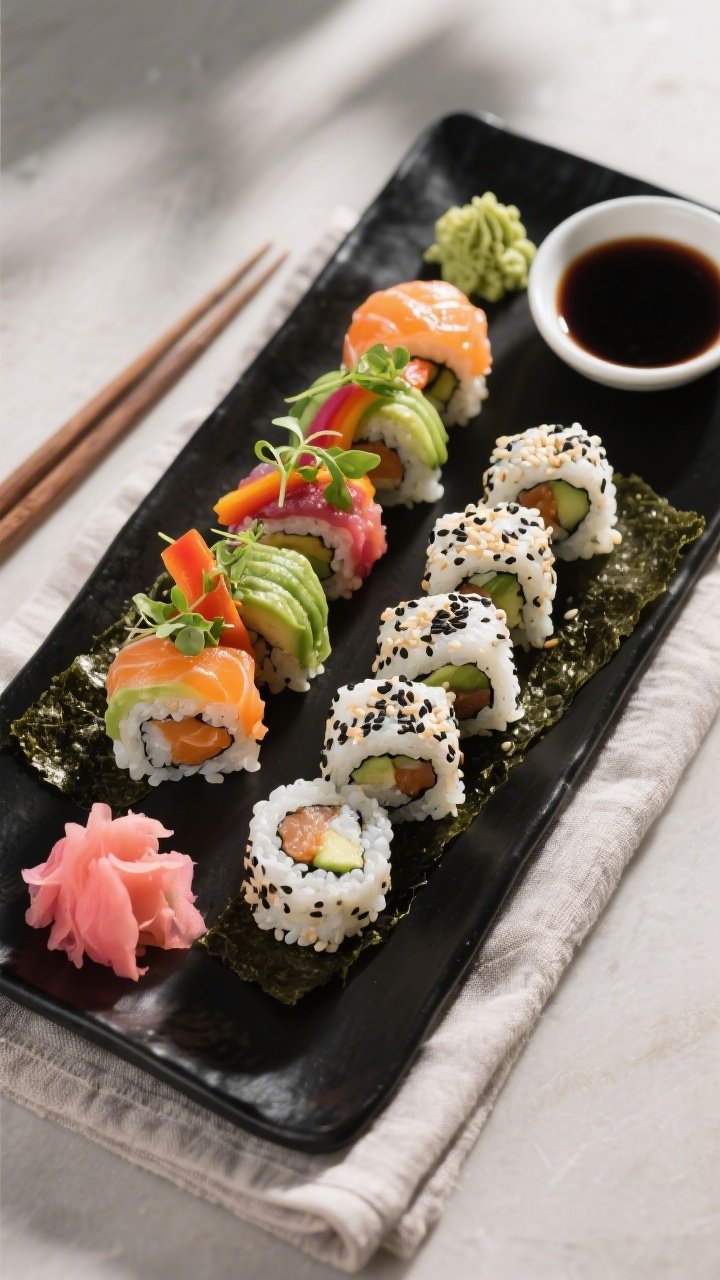
- Veggie Rainbow: Carrot, cucumber, avocado, bell pepper, and microgreens.
- Spicy Tuna: Canned tuna mixed with GF mayo and sriracha, plus scallions.
- Smoked Salmon Crunch: Smoked salmon, cucumber, avocado, and a sprinkle of toasted sesame.
- Inside-Out Roll: Spread rice on the outside of the nori, flip, add fillings, and roll; coat with sesame seeds.
- Brown Rice Option: Use short-grain brown rice; cook a bit longer and add an extra splash of vinegar for tenderness.
FAQ
Is soy sauce gluten-free?
Traditional soy sauce contains wheat. Use gluten-free tamari or coconut aminos instead. Always read labels, as formulas vary.
Can I use regular rice instead of sushi rice?
Short-grain sushi rice gives the right stickiness and texture.
Medium-grain can work in a pinch, but long-grain rice won’t hold together well in rolls.
Is imitation crab gluten-free?
Often not. Many brands include wheat as a binder. Choose real crab or another protein to keep the rolls gluten-free.
Do I need a bamboo mat?
It helps, but you can use a clean kitchen towel wrapped in plastic wrap.
The plastic prevents sticking and gives you enough grip to roll tightly.
How do I make my rice less mushy?
Rinse until the water runs mostly clear, measure water carefully, and avoid overcooking. When seasoning, fold gently and let the rice cool before rolling.
Can I make these rolls vegan?
Yes. Use tofu, avocado, cucumber, carrots, and other veggies.
For sauce, pair coconut aminos with sesame oil and a squeeze of lime.
What’s the best way to slice cleanly?
Use a very sharp knife, dip it in water, and wipe between cuts. Gentle sawing motions help prevent compressing the roll.
How many rolls does this make?
About 4–5 full rolls (24–40 pieces) from 2 cups uncooked rice, depending on filling amounts and roll thickness.
Can I prepare ingredients ahead of time?
Yes. Prep veggies and proteins up to a day ahead and keep them chilled and dry.
Cook and season rice just before rolling for the best texture.
Is wasabi gluten-free?
Real wasabi is naturally gluten-free, but many “wasabi pastes” include additives. Check labels or choose a certified gluten-free brand.
Wrapping Up
Gluten-Free Sushi Rolls are easy to master with the right rice, a few fresh fillings, and gluten-safe condiments. Keep your setup simple, roll with a light hand, and slice with a sharp knife.
Once you learn the basics, you can swap in new flavors and make sushi night a regular habit at home. Fresh, fun, and tailored to your needs—this is sushi your way.
Printable Recipe Card
Want just the essential recipe details without scrolling through the article? Get our printable recipe card with just the ingredients and instructions.