
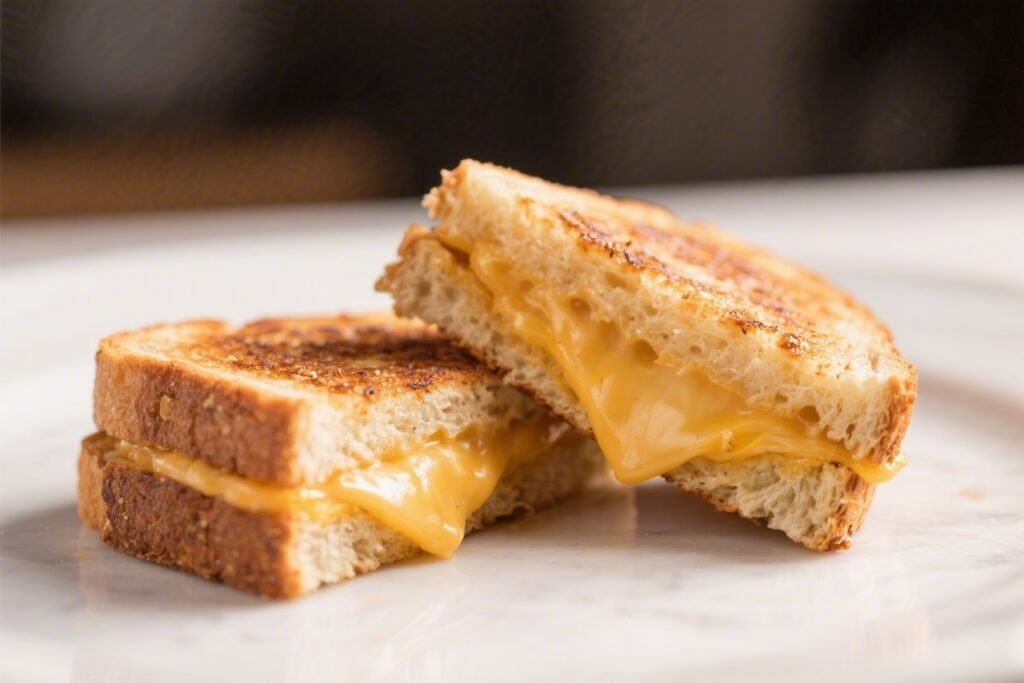
There’s nothing quite like a grilled cheese sandwich when you need something warm and familiar. This gluten-free version keeps all the melty, toasty goodness you love, without the wheat. It’s crisp at the edges, gooey in the center, and easy to make on a busy day.
Whether you’re feeding kids, cooking for yourself, or serving a quick lunch to guests, this sandwich fits the moment. And with a few smart tweaks, it tastes just as classic as the original.

Gluten-Free Grilled Cheese Sandwich - Simple, Comforting, and Crispy
Ingredients
- 2 slices gluten-free sandwich bread (choose a sturdy brand with some structure, not too airy)
- 1–1½ cups shredded cheese (mix of low-moisture mozzarella and sharp cheddar is ideal; Monterey Jack or provolone also work)
- 1–2 tablespoons butter (softened) or ghee; for dairy-free use vegan butter
- 1 teaspoon mayonnaise (optional, for extra browning on the outside)
- Pinch of salt (optional, depending on your cheese)
- Freshly ground black pepper (optional)
- Optional add-ins: thin tomato slices, caramelized onions, sliced jalapeños, crispy bacon, or a smear of pesto (gluten-free)
Instructions
- Choose the right pan. Use a nonstick skillet or seasoned cast-iron pan for even heat.Set it over medium-low heat.
- Prep the bread. Lightly pre-toast the gluten-free bread in a toaster for about 30–45 seconds, just until it’s a bit drier to the touch. This helps prevent gumminess and keeps the sandwich crisp.
- Butter and mayo. Spread a thin layer of butter on one side of each slice. For extra color and crunch, mix a little mayo with the butter and spread that on the outside faces.
- Build the sandwich. Place one slice, buttered side down, on the cutting board.Add the shredded cheese evenly, leaving a small border around the edges. Season with a pinch of salt and pepper if desired. Top with the second slice, buttered side out.
- Warm the pan. Add a small pat of butter or a quick swipe of oil to the pan.When it gently sizzles (not smokes), it’s ready.
- Cook low and slow. Place the sandwich in the pan. Cook for 3–4 minutes on the first side, pressing lightly with a spatula. If the bread browns too fast, lower the heat.
- Flip carefully. Slide the spatula under the sandwich and flip in one confident motion.Cook for another 3–4 minutes. The cheese should start to ooze at the edges and the bread should be golden.
- Steam-melt trick (optional). If the cheese isn’t fully melted, lower the heat, cover the pan for 30–45 seconds, then uncover to re-crisp for another 20 seconds.
- Rest and slice. Transfer to a cutting board and let it rest for 1 minute so the cheese sets slightly. Slice diagonally for classic triangles.
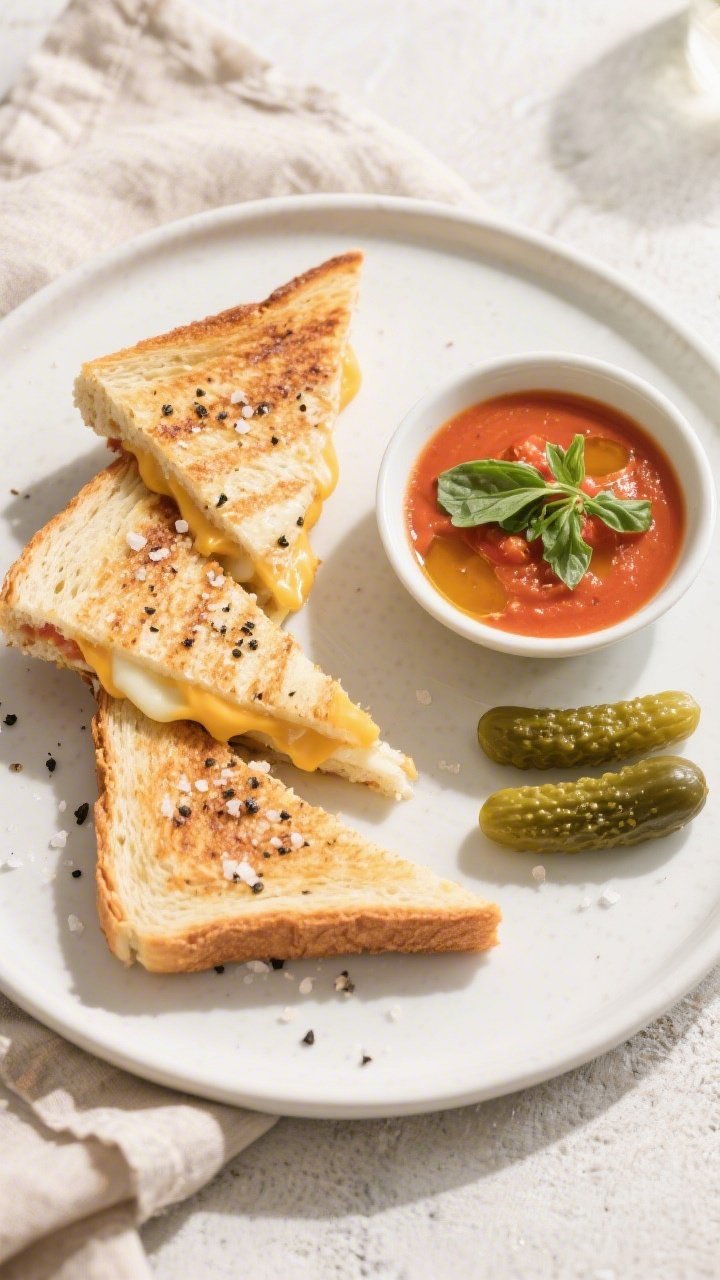
- Serve hot. Enjoy as is or with tomato soup, a side salad, or pickles for contrast.
Why This Recipe Works
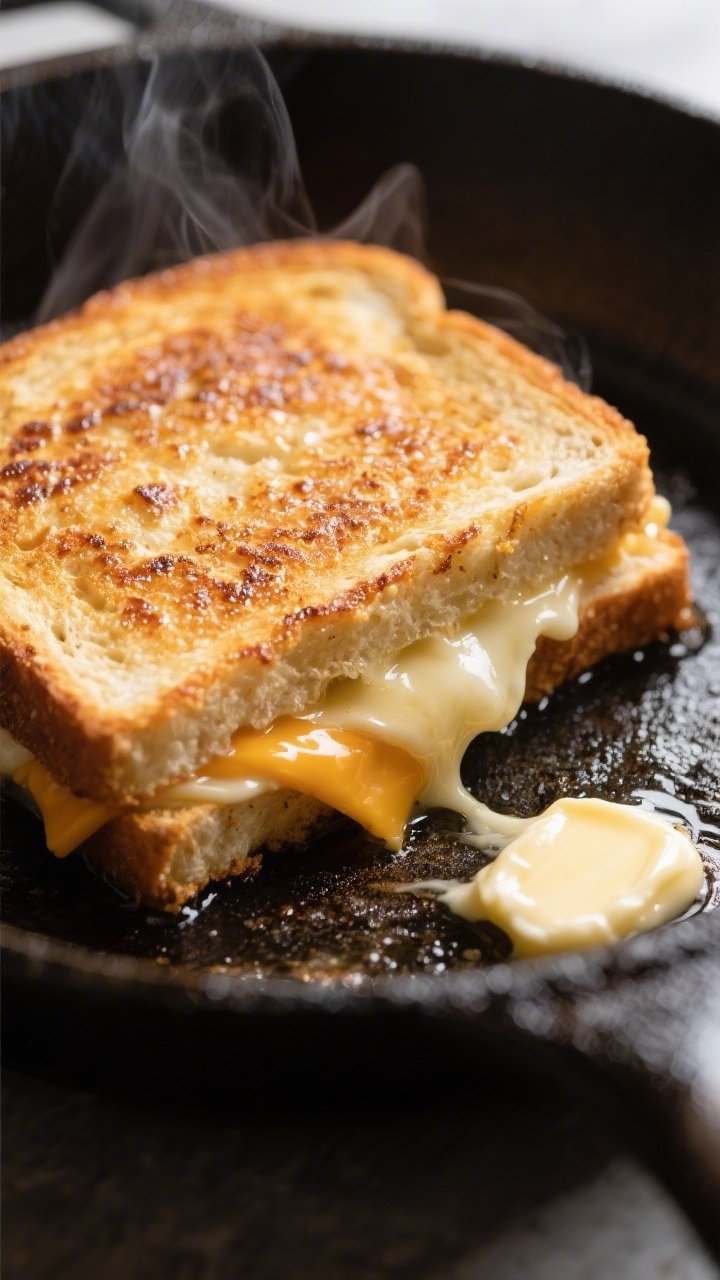
Gluten-free bread behaves differently from standard bread, so this method focuses on texture and timing. A gentle pre-toast helps firm up the slices and prevents sogginess later.
Using a blend of cheeses ensures a perfect melt while keeping the flavor rich and satisfying. Cooking low and slow gives the bread time to crisp without burning and lets the cheese fully melt. The result is a sandwich that’s golden, balanced, and reliably delicious every time.
Ingredients
- 2 slices gluten-free sandwich bread (choose a sturdy brand with some structure, not too airy)
- 1–1½ cups shredded cheese (mix of low-moisture mozzarella and sharp cheddar is ideal; Monterey Jack or provolone also work)
- 1–2 tablespoons butter (softened) or ghee; for dairy-free use vegan butter
- 1 teaspoon mayonnaise (optional, for extra browning on the outside)
- Pinch of salt (optional, depending on your cheese)
- Freshly ground black pepper (optional)
- Optional add-ins: thin tomato slices, caramelized onions, sliced jalapeños, crispy bacon, or a smear of pesto (gluten-free)
Step-by-Step Instructions
- Choose the right pan. Use a nonstick skillet or seasoned cast-iron pan for even heat.
Set it over medium-low heat.
- Prep the bread. Lightly pre-toast the gluten-free bread in a toaster for about 30–45 seconds, just until it’s a bit drier to the touch. This helps prevent gumminess and keeps the sandwich crisp.
- Butter and mayo. Spread a thin layer of butter on one side of each slice. For extra color and crunch, mix a little mayo with the butter and spread that on the outside faces.
- Build the sandwich. Place one slice, buttered side down, on the cutting board.
Add the shredded cheese evenly, leaving a small border around the edges. Season with a pinch of salt and pepper if desired. Top with the second slice, buttered side out.
- Warm the pan. Add a small pat of butter or a quick swipe of oil to the pan.
When it gently sizzles (not smokes), it’s ready.
- Cook low and slow. Place the sandwich in the pan. Cook for 3–4 minutes on the first side, pressing lightly with a spatula. If the bread browns too fast, lower the heat.
- Flip carefully. Slide the spatula under the sandwich and flip in one confident motion.
Cook for another 3–4 minutes. The cheese should start to ooze at the edges and the bread should be golden.
- Steam-melt trick (optional). If the cheese isn’t fully melted, lower the heat, cover the pan for 30–45 seconds, then uncover to re-crisp for another 20 seconds.
- Rest and slice. Transfer to a cutting board and let it rest for 1 minute so the cheese sets slightly. Slice diagonally for classic triangles.
- Serve hot. Enjoy as is or with tomato soup, a side salad, or pickles for contrast.
How to Store
- Short-term: Wrap leftovers tightly in foil and refrigerate for up to 24 hours.
Texture is best the same day.
- Reheat: Warm in a skillet over medium-low heat for 3–4 minutes per side. Avoid the microwave; it can make gluten-free bread tough or rubbery.
- Freeze: Assemble the sandwich (uncooked), wrap well, and freeze for up to 1 month. Cook from frozen over low heat, covered for a few minutes to melt the cheese, then uncover to crisp.
Why This is Good for You
- Gluten-free friendly: Great for those with celiac disease or gluten sensitivity.
Always check labels to confirm the bread and add-ins are certified gluten-free.
- Customizable nutrition: Choose reduced-fat cheeses, add veggies like spinach or tomatoes, and use olive oil or avocado oil spread to tweak the profile.
- Protein and calcium: Cheese provides protein for satiety and calcium for bone health. Pair with a side salad or veggie soup to round out the meal.
- Balanced comfort: When made with care, this sandwich hits that comfort-food note without feeling heavy, especially if you add fiber-rich sides.
Pitfalls to Watch Out For
- Using flimsy bread: Some gluten-free loaves crumble easily. Choose a sturdier slice or pre-toast lightly to strengthen the structure.
- Heat too high: Gluten-free bread can scorch before the cheese melts.
Keep it at medium-low and take your time.
- Too much moisture: Wet add-ins (like tomatoes) can make the center soggy. Pat them dry or layer cheese on both sides to create a moisture barrier.
- Thick cheese slices: Shredded cheese melts more evenly than thick slices. If using slices, don’t stack them too high.
- Cross-contact with gluten: Use clean pans, utensils, and cutting boards.
Avoid shared toasters unless they’re dedicated gluten-free.
Recipe Variations
- Classic Diner Style: Use American cheese for a super-melty, nostalgic version. Add a thin mayo layer on the outside for extra browning.
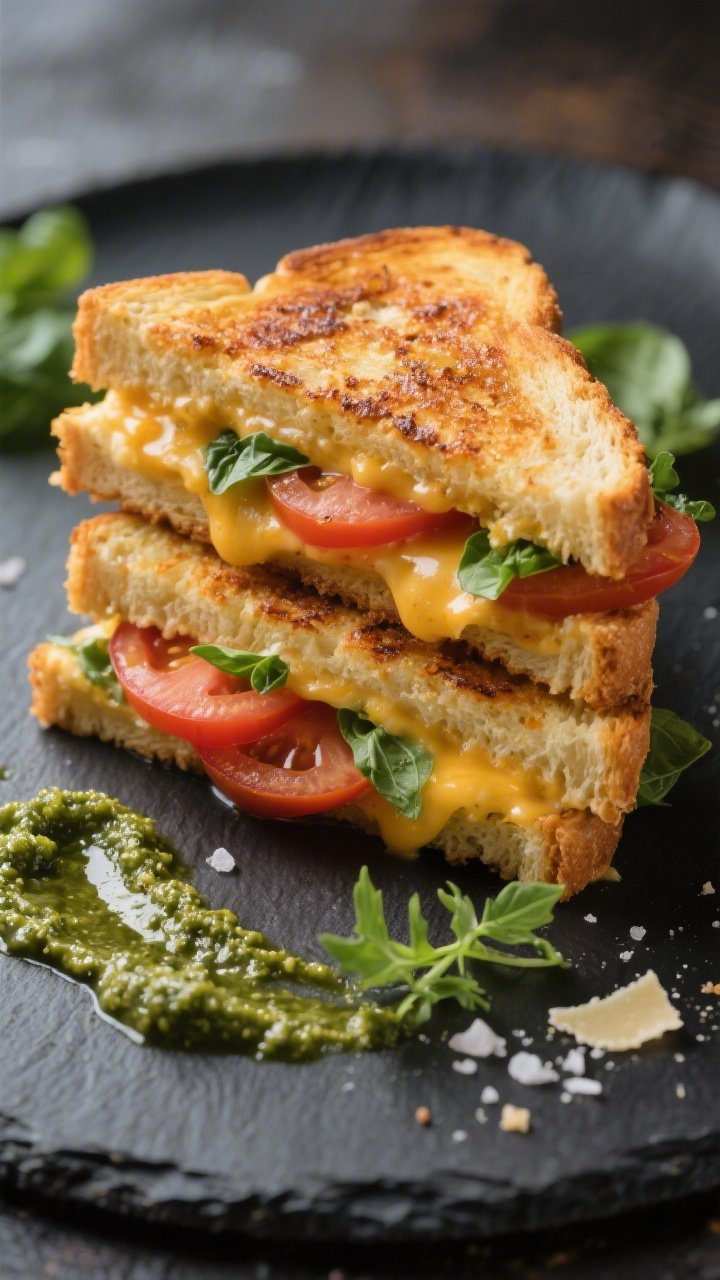
- Tomato Basil: Add thin tomato slices (patted dry) and a few torn basil leaves. Finish with a light sprinkle of flaky salt.
- Green Goddess: Spread a spoonful of gluten-free pesto inside and add mozzarella with a handful of spinach.
- Smoky Jalapeño: Mix cheddar and pepper jack, add pickled jalapeños, and a dusting of smoked paprika.
- Bacon Apple Crunch: Add crisp bacon and paper-thin slices of tart apple with sharp cheddar.
- Dairy-Free Melt: Use a high-quality vegan cheese designed to melt, and vegan butter.
Cover the pan briefly to encourage melting.
- Garlic Butter Crust: Stir a pinch of garlic powder into the butter for a subtle, savory edge.
FAQ
What’s the best gluten-free bread for grilled cheese?
Look for a denser, sandwich-style loaf with a little chew. Brands that include rice flour, tapioca starch, and some fiber (like psyllium or buckwheat) tend to hold up well. Avoid ultra-soft or holey slices that may break apart.
Which cheese melts best?
Low-moisture mozzarella, cheddar, Monterey Jack, provolone, and American all melt reliably.
A 50/50 blend of mozzarella and sharp cheddar gives you great stretch and flavor. Shred your own for the best melt and fewer additives.
Can I make it without butter?
Yes. Use olive oil, avocado oil, or vegan butter.
You can also brush the outside with a thin layer of mayo for a crisp, golden crust without dairy butter.
How do I avoid a soggy center?
Pre-toast the bread lightly and keep the heat on medium-low. If adding moist fillings, pat them dry and sandwich them between layers of cheese. Finish uncovered to evaporate excess steam.
Is this safe for someone with celiac disease?
It can be, as long as every ingredient is certified gluten-free and you prevent cross-contact.
Use a dedicated gluten-free pan, knife, and cutting board, and skip shared toasters or butter tubs that might contain crumbs.
Can I bake it instead of using a skillet?
Yes. Assemble the sandwich, place it on a sheet pan, and bake at 400°F (200°C) for about 8–10 minutes, flipping once. For best results, pre-toast the bread and finish under the broiler for 30 seconds per side.
What sides go well with this?
Tomato soup is classic.
A simple green salad with a lemony vinaigrette, roasted veggies, or crunchy pickles also balance the richness of the cheese.
Can I add protein?
Absolutely. Thin slices of deli turkey or ham (gluten-free), cooked bacon, or leftover shredded chicken work well. Keep layers thin so the cheese can still melt evenly.
How do I make it extra crispy?
Use a cast-iron pan, spread a thin mayo-butter mix on the outside, and cook slowly.
Press gently with a spatula and give it a brief final toast uncovered to drive off moisture.
What’s the best way to cut it?
Let it rest for one minute after cooking, then slice diagonally with a sharp knife. This helps keep the filling in place and gives that classic grilled cheese look.
Wrapping Up
A great gluten-free grilled cheese comes down to sturdy bread, a smart melt-friendly cheese blend, and steady heat. With those pieces in place, you can keep it classic or get creative with add-ins and spreads.
It’s fast, cozy, and endlessly customizable—perfect for weekdays, weekends, or anytime you want something satisfying with minimal effort. Keep this method handy, and you’ll get golden, melty results every time.
Printable Recipe Card
Want just the essential recipe details without scrolling through the article? Get our printable recipe card with just the ingredients and instructions.