
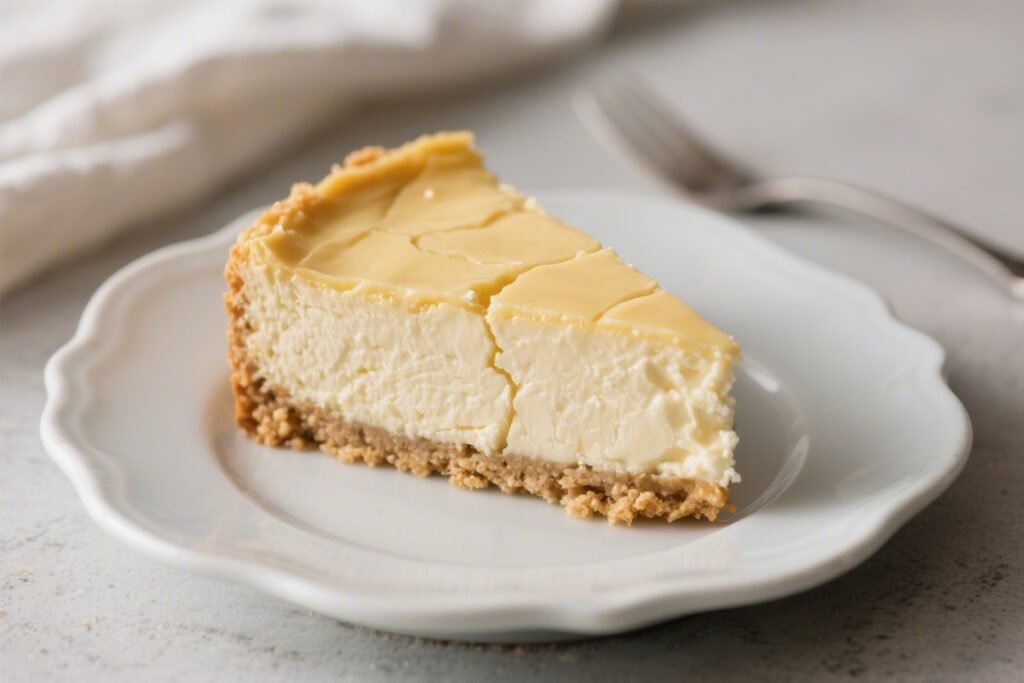
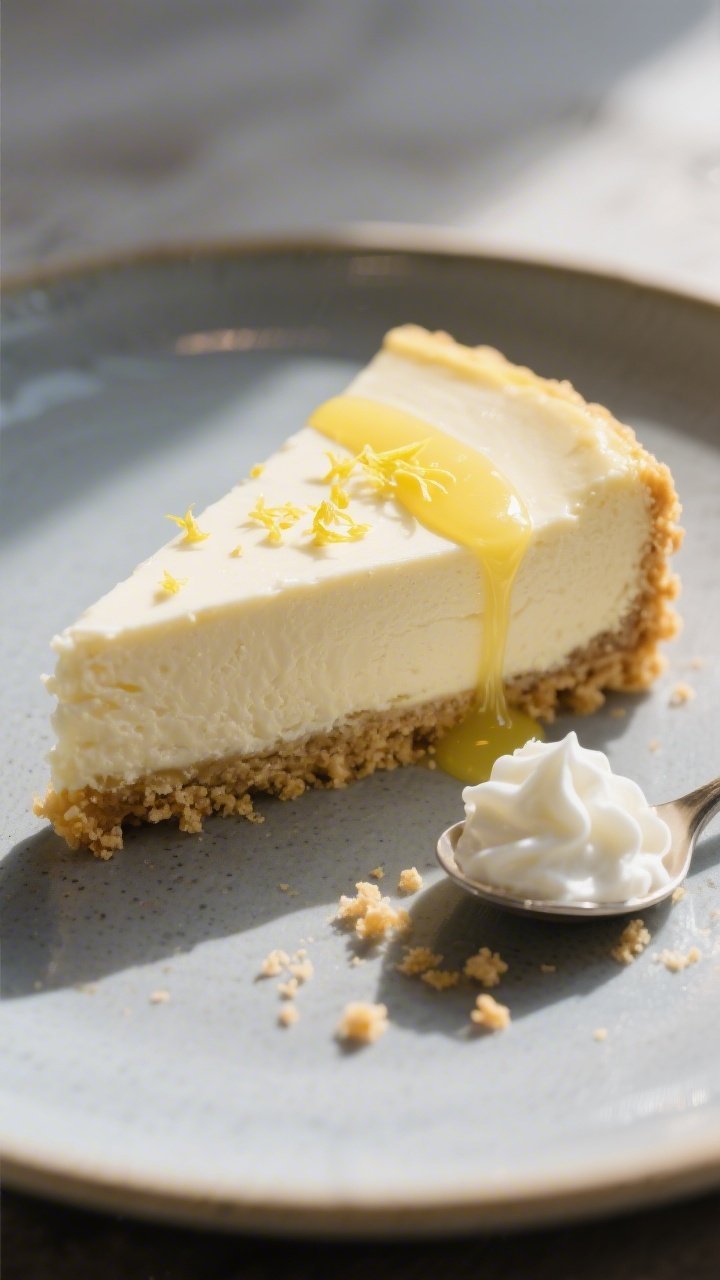
Skip the stress and make a cheesecake that’s silky, rich, and crack-free—without a hint of gluten. This recipe gives you a classic New York–style texture with a buttery crust that holds together beautifully. No water bath splashes, no guesswork, just smart steps for perfect results every time.
If you’ve had trouble with sunken centers or dry edges, this method will change that. You’ll get clean slices, a smooth top, and a dessert that tastes like it came from a bakery.
Gluten-Free Cheesecake (No Crack!) – Smooth, Creamy, and Foolproof
Ingredients
- For the crust:
- 200 g (about 2 cups) gluten-free graham-style cracker crumbs or vanilla cookie crumbs
- 2 tbsp granulated sugar (optional, adjust to cookie sweetness)
- 1/4 tsp fine sea salt
- 6 tbsp unsalted butter, melted
- For the filling:
- 32 oz (900 g) full-fat cream cheese, room temperature
- 1 cup granulated sugar
- 1/4 tsp fine sea salt
- 1 tbsp cornstarch (or 2 tsp gluten-free flour blend)
- 3 large eggs, room temperature
- 1 large egg yolk, room temperature
- 3/4 cup sour cream, room temperature
- 1 tbsp fresh lemon juice
- 2 tsp vanilla extract
- For the pan and bath:
- 9-inch springform pan
- Heavy-duty foil or a silicone water-bath wrap
- Hot water for the water bath
- Optional toppings:
- Fresh berries, berry compote, or lemon curd
- Lightly sweetened whipped cream
Instructions
- Prep the pan and oven. Heat the oven to 325°F (163°C).Wrap the outside of a 9-inch springform pan with two layers of heavy-duty foil, covering the bottom and sides tightly to prevent water from seeping in. Lightly grease the inside of the pan.
- Make the crust. In a bowl, mix the gluten-free crumbs, sugar, and salt. Stir in melted butter until the mixture looks like damp sand and holds when pressed.Press firmly into the bottom and 1 inch up the sides of the pan. Use a flat-bottomed glass to compact.
- Pre-bake the crust. Bake for 10 minutes. Remove and cool on a rack while you make the filling.Keep the oven at 325°F.
- Soften the cream cheese properly. Make sure the cream cheese is fully at room temperature. This prevents lumps and overmixing later.
- Mix the base gently. In a stand mixer with the paddle (or a hand mixer on low), beat the cream cheese, sugar, salt, and cornstarch on low until smooth and creamy, about 2 minutes. Scrape the bowl and paddle as needed.Avoid whipping air into the batter.
- Add eggs with care. Add the eggs and yolk one at a time on low speed, mixing just until combined after each addition. Scrape the bowl once more.
- Finish the batter. Add sour cream, lemon juice, and vanilla. Mix on low just until smooth.If you see a few stubborn lumps, press them out with a spatula rather than overmixing.
- Set up the water bath. Place the foil-wrapped pan in a large roasting pan. Pour the batter into the crust and smooth the top. Set the roasting pan on the oven rack, then pour hot water into the roasting pan until it comes halfway up the sides of the springform.
- Bake low and slow. Bake for 60–75 minutes.The edges should look set, and the center should wobble slightly when you gently nudge the pan. If the top is browning, tent loosely with foil in the last 15 minutes.
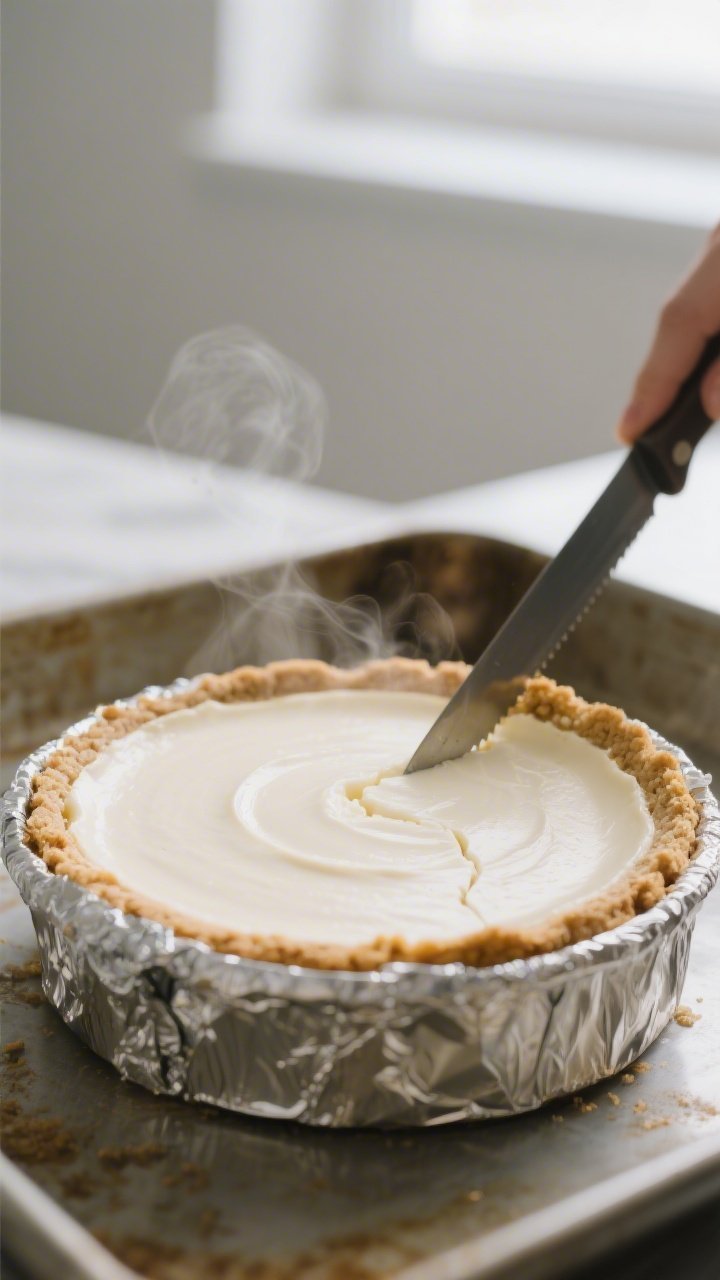
- Use a knife trick to prevent cracks. Remove the roasting pan from the oven and carefully lift out the cheesecake. Immediately run a thin knife around the inside edge of the pan to release the cake from the sides.This prevents tension and cracks as it cools.
- Cool down gradually. Let the cheesecake cool in the pan on a rack for 1 hour. Then transfer to the fridge, uncovered, for at least 6 hours, preferably overnight. Avoid moving it around during this time.
- Unmold and serve. Remove the springform ring.For clean slices, warm a sharp knife under hot water, wipe dry, and slice, cleaning the blade between cuts. Add berries or whipped cream if you like.
What Makes This Special
This cheesecake uses a few strategic tricks to prevent cracks and keep the texture creamy. A simple water bath shields the filling from harsh heat, while slow mixing keeps air bubbles to a minimum.
The crust is made with gluten-free cookies, so you won’t miss the original—and it stays crisp. There’s also a built-in cool-down process that protects the top from sudden temperature changes. The result: flawless slices and a smooth, tangy finish.
What You’ll Need
- For the crust:
- 200 g (about 2 cups) gluten-free graham-style cracker crumbs or vanilla cookie crumbs
- 2 tbsp granulated sugar (optional, adjust to cookie sweetness)
- 1/4 tsp fine sea salt
- 6 tbsp unsalted butter, melted
- For the filling:
- 32 oz (900 g) full-fat cream cheese, room temperature
- 1 cup granulated sugar
- 1/4 tsp fine sea salt
- 1 tbsp cornstarch (or 2 tsp gluten-free flour blend)
- 3 large eggs, room temperature
- 1 large egg yolk, room temperature
- 3/4 cup sour cream, room temperature
- 1 tbsp fresh lemon juice
- 2 tsp vanilla extract
- For the pan and bath:
- 9-inch springform pan
- Heavy-duty foil or a silicone water-bath wrap
- Hot water for the water bath
- Optional toppings:
- Fresh berries, berry compote, or lemon curd
- Lightly sweetened whipped cream
Instructions
- Prep the pan and oven. Heat the oven to 325°F (163°C).
Wrap the outside of a 9-inch springform pan with two layers of heavy-duty foil, covering the bottom and sides tightly to prevent water from seeping in. Lightly grease the inside of the pan.
- Make the crust. In a bowl, mix the gluten-free crumbs, sugar, and salt. Stir in melted butter until the mixture looks like damp sand and holds when pressed.
Press firmly into the bottom and 1 inch up the sides of the pan. Use a flat-bottomed glass to compact.
- Pre-bake the crust. Bake for 10 minutes. Remove and cool on a rack while you make the filling.
Keep the oven at 325°F.
- Soften the cream cheese properly. Make sure the cream cheese is fully at room temperature. This prevents lumps and overmixing later.
- Mix the base gently. In a stand mixer with the paddle (or a hand mixer on low), beat the cream cheese, sugar, salt, and cornstarch on low until smooth and creamy, about 2 minutes. Scrape the bowl and paddle as needed.
Avoid whipping air into the batter.
- Add eggs with care. Add the eggs and yolk one at a time on low speed, mixing just until combined after each addition. Scrape the bowl once more.
- Finish the batter. Add sour cream, lemon juice, and vanilla. Mix on low just until smooth.
If you see a few stubborn lumps, press them out with a spatula rather than overmixing.
- Set up the water bath. Place the foil-wrapped pan in a large roasting pan. Pour the batter into the crust and smooth the top. Set the roasting pan on the oven rack, then pour hot water into the roasting pan until it comes halfway up the sides of the springform.
- Bake low and slow. Bake for 60–75 minutes.
The edges should look set, and the center should wobble slightly when you gently nudge the pan. If the top is browning, tent loosely with foil in the last 15 minutes.
- Use a knife trick to prevent cracks. Remove the roasting pan from the oven and carefully lift out the cheesecake. Immediately run a thin knife around the inside edge of the pan to release the cake from the sides.
This prevents tension and cracks as it cools.
- Cool down gradually. Let the cheesecake cool in the pan on a rack for 1 hour. Then transfer to the fridge, uncovered, for at least 6 hours, preferably overnight. Avoid moving it around during this time.
- Unmold and serve. Remove the springform ring.
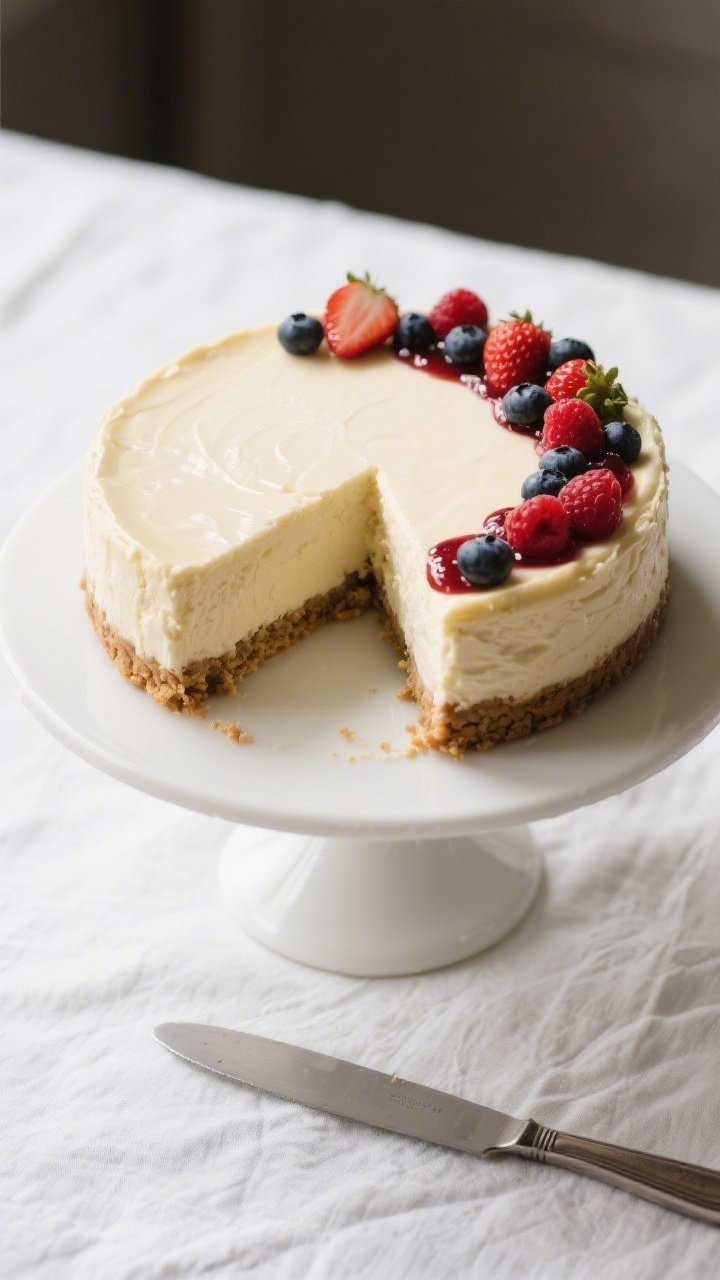
For clean slices, warm a sharp knife under hot water, wipe dry, and slice, cleaning the blade between cuts. Add berries or whipped cream if you like.
Storage Instructions
- Refrigerator: Cover and store for up to 5 days. Keep it in an airtight container or wrap the pan tightly to prevent fridge odors.
- Freezer: Freeze whole or as slices.
Chill until firm, then wrap in plastic and foil. Freeze for up to 2 months. Thaw overnight in the fridge.
- Topping storage: Keep sauces and whipped cream separate and add just before serving to maintain the cheesecake’s texture.
Benefits of This Recipe
- Truly gluten-free: Uses easy-to-find gluten-free cookies and a cornstarch-stabilized filling.
- No-crack method: The water bath, gentle mixing, and knife-release step ensure a smooth top.
- Balanced flavor: Tangy from sour cream and lemon, sweet but not cloying.
- Foolproof texture: Creamy center with clean edges—no grainy or dry bites.
- Make-ahead friendly: Best chilled overnight, so it’s party-ready with less day-of stress.
Common Mistakes to Avoid
- Cold dairy. Using cold cream cheese leads to lumps and overmixing.
Bring all dairy and eggs to room temperature.
- Overbeating the batter. Airy batter rises and sinks, causing cracks. Keep the mixer on low and stop when combined.
- Skipping the water bath. Dry heat can cause curdling and splitting. The bath keeps baking gentle and even.
- Not releasing the sides. As the cake cools, it contracts.
If it sticks to the pan, it tears the top.
- Overbaking. Wait for a slight jiggle in the center. If it’s fully set in the oven, it will be overcooked when cool.
- Leaky pan. Use heavy-duty foil or a silicone wrap to protect from water seeping into the crust.
Alternatives
- Dairy-free option: Use dairy-free cream cheese and sour cream made for baking, plus vegan butter for the crust. Texture will be slightly softer.
- Cookie swaps: Try gluten-free ginger snaps, chocolate wafers, or almond cookies.
Adjust added sugar based on cookie sweetness.
- Lemon cheesecake: Add 1 tbsp lemon zest and increase lemon juice to 2 tbsp. Top with lemon curd.
- Chocolate swirl: Melt 4 oz gluten-free dark chocolate and swirl into the top before baking.
- No-bake path: Use the same crust (fully cooled), then a no-bake filling with whipped cream folded into sweetened cream cheese. Chill 6–8 hours.
Note: different texture, but great for hot days.
FAQ
How do I know when the cheesecake is done?
Look for set edges and a 2–3 inch wobbly center. When you gently shake the pan, the center should jiggle like Jell-O, not slosh. It will finish setting as it cools.
Can I skip the water bath?
You can, but you risk cracks and a drier texture.
If you prefer not to use one, place a pan of hot water on the lower rack to add moisture and reduce heat intensity. Still, a true water bath gives the most reliable results.
What’s the best gluten-free cookie for the crust?
Gluten-free graham-style crackers work best for a classic flavor. If those aren’t available, vanilla sandwich cookies (cream removed) or crispy shortbread-style cookies make a great substitute.
Why did my cheesecake crack anyway?
Common causes include overmixing, overbaking, skipping the knife-release step, or rapid temperature changes.
It will still taste great. Cover with a thin sour cream layer or fresh fruit to disguise cracks if needed.
Can I make this ahead?
Yes. Cheesecake tastes better the next day.
Bake it the day before serving, cool fully, then chill overnight. Add toppings just before serving.
How do I prevent a soggy crust?
Fully wrap the pan to keep out water, pre-bake the crust for 10 minutes, and let it cool before adding the filling. Press the crumbs firmly so the crust sets well.
Can I reduce the sugar?
You can reduce it to 3/4 cup in the filling without hurting texture.
The cheesecake will be slightly tangier. Do not reduce too much, or the structure may suffer.
Is cornstarch necessary?
It helps stabilize the filling and prevent weeping. If you don’t have cornstarch, use a small amount of a good gluten-free flour blend.
Avoid large amounts, which can make the texture pasty.
How do I get clean slices?
Use a sharp, hot knife. Dip in hot water, wipe dry, slice, and repeat between cuts. Chilling the cheesecake well also helps.
What toppings pair well?
Fresh berries, berry compote, lemon curd, salted caramel (gluten-free), or a simple sour cream topping with a touch of sugar and vanilla all work beautifully.
Wrapping Up
This gluten-free cheesecake delivers the creamy texture and smooth top you want, with steps that guard against cracks.
The method is simple: gentle mixing, a steady water bath, and patient cooling. Make it a day ahead, slice clean, and add your favorite toppings. It’s reliable enough for beginners and impressive enough for guests—no one will guess it’s gluten-free.
Printable Recipe Card
Want just the essential recipe details without scrolling through the article? Get our printable recipe card with just the ingredients and instructions.