
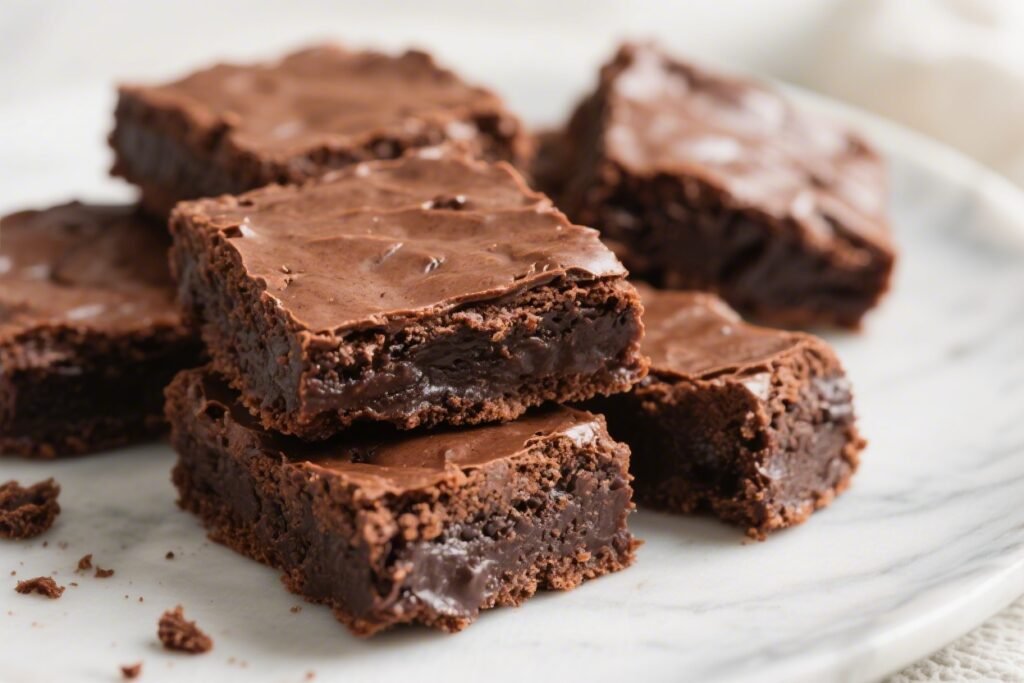
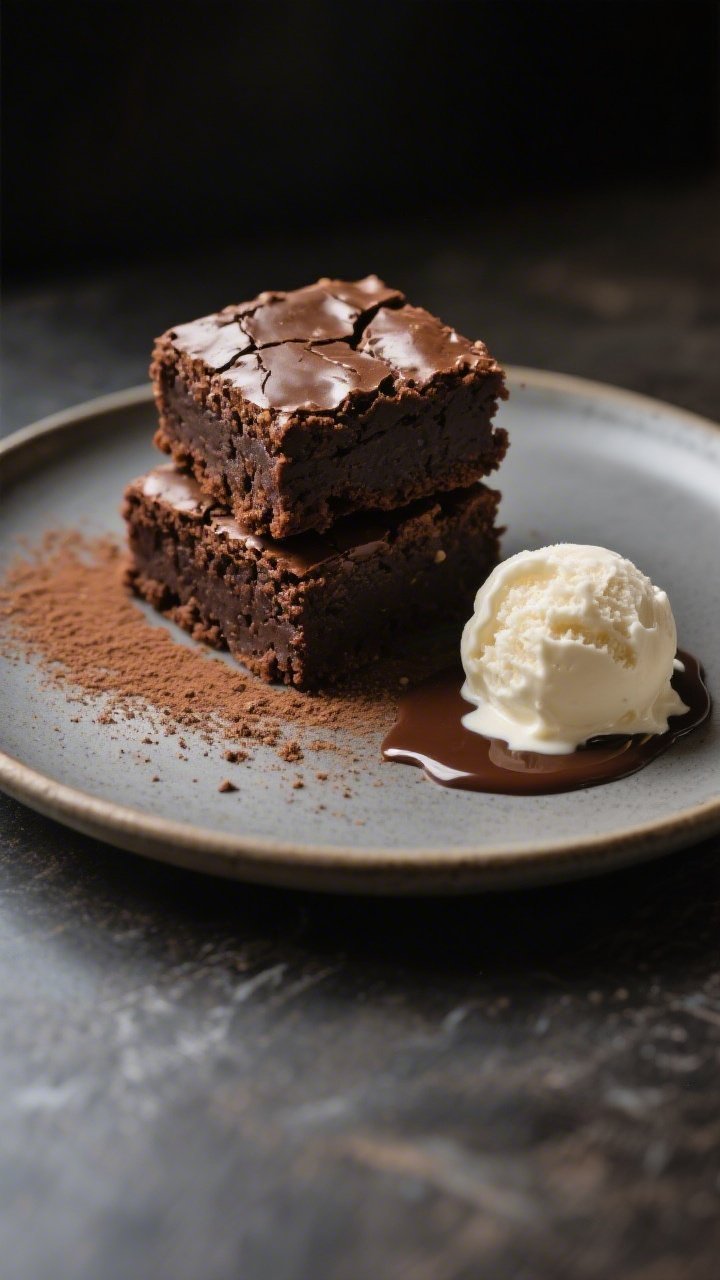
These gluten-free brownies are everything you want in a brownie: intense chocolate flavor, a shiny crackly top, and a fudgy center that melts in your mouth. You won’t miss the gluten—promise. The batter comes together in one bowl, and the recipe is flexible enough for different gluten-free flours.
Keep it simple for a classic treat, or add mix-ins if you like. Either way, these are the brownies you’ll reach for again and again.
Gluten-Free Brownies (Fudgy & Rich) - A No-Fuss Favorite
Ingredients
- Unsalted butter (1/2 cup, 113 g): For richness and a tender crumb.
- Bittersweet or semisweet chocolate (6 oz, 170 g), chopped: The fudgy backbone.
- Granulated sugar (3/4 cup, 150 g): Sweetness and that classic brownie top.
- Light brown sugar (1/2 cup, 100 g): Adds moisture and depth.
- Large eggs (3), room temperature: Structure and shine.
- Vanilla extract (2 teaspoons): Rounds out the chocolate flavor.
- Unsweetened cocoa powder (1/3 cup, 35 g): Boosts chocolate intensity.
- Gluten-free 1:1 baking flour (1/2 cup, 70 g): Choose a blend with xanthan gum; if your blend lacks it, add 1/4 teaspoon xanthan.Alternatively, use 1/4 cup (30 g) cornstarch plus 1/4 cup (25 g) almond flour.
- Fine sea salt (1/2 teaspoon): Enhances flavor.
- Espresso powder (optional, 1 teaspoon): Deepens chocolate taste without making it coffee-flavored.
- Chocolate chips or chunks (optional, 1/2 cup): For extra pools of melted chocolate.
Instructions
- Prep the pan: Heat oven to 350°F (175°C). Line an 8-inch square pan with parchment, leaving a 1-inch overhang on two sides for easy lifting. Lightly grease the parchment.
- Melt butter and chocolate: In a medium heatproof bowl, combine butter and chopped chocolate.Microwave in 20–30 second bursts, stirring between each, until smooth. You can also melt over a double boiler. Let it cool for 2–3 minutes.
- Whisk in sugars: Add granulated and brown sugar to the warm chocolate mixture and whisk until glossy and thick.This helps dissolve the sugar for that shiny top.
- Add eggs and vanilla: Whisk in eggs one at a time, beating well after each until the batter looks satiny. Whisk in vanilla and espresso powder, if using. The batter should look cohesive and slightly thick.
- Fold in dry ingredients: In a small bowl, whisk cocoa, gluten-free flour (and xanthan if needed), and salt.Sift if lumpy. Use a spatula to fold the dry mixture into the wet just until no dry streaks remain. Do not overmix.
- Add mix-ins (optional): Fold in chocolate chips or chunks.Keep some for the top if you like.
- Pan and smooth: Scrape batter into the prepared pan and spread evenly. If using extra chips, scatter them on top.
- Bake: Bake 22–28 minutes, depending on your oven and desired doneness. For fudgy brownies, remove when the center is just set and a toothpick comes out with moist crumbs but not wet batter. The edges will look slightly pulled away.
- Cool completely: Place the pan on a rack and let brownies cool fully, at least 1–2 hours.For clean slices, chill 30 minutes before cutting. Lift out using the parchment and slice with a warm, sharp knife, wiping between cuts.
Why This Recipe Works
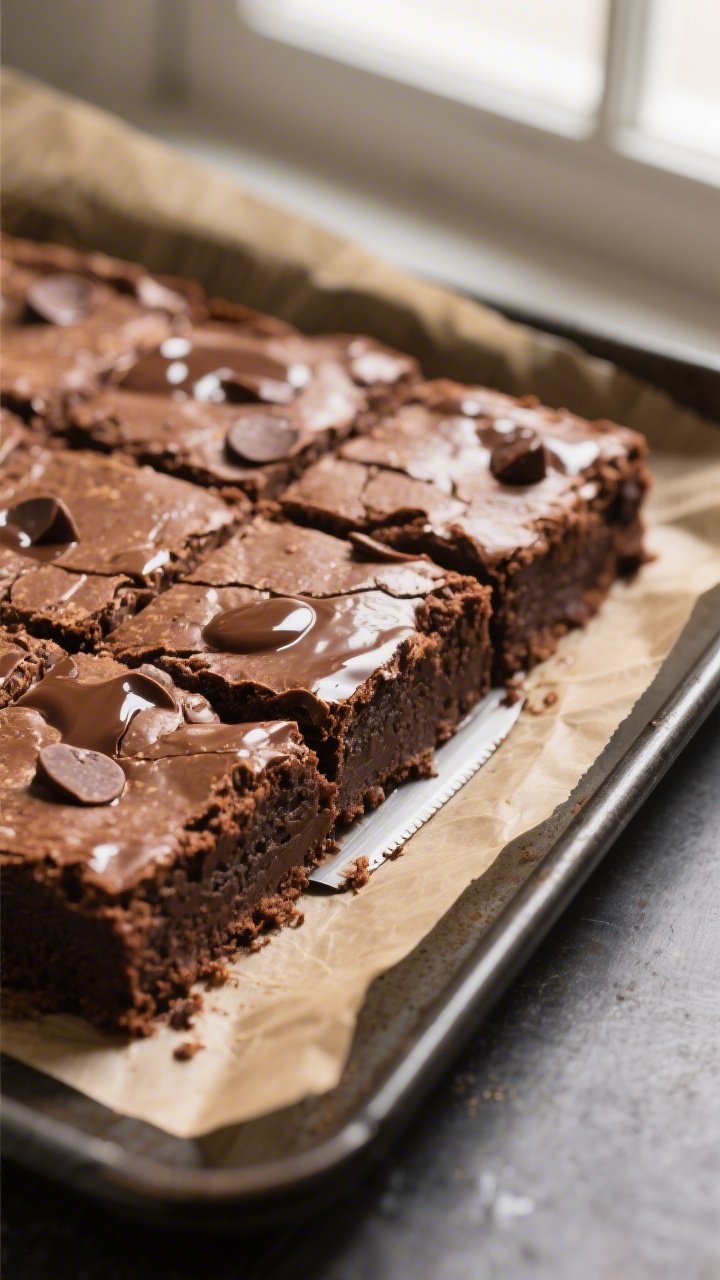
Gluten-free baking can be tricky, but this recipe leans on chocolate, butter, and eggs to create structure and richness. There’s no need for fancy binders because the fat and sugar provide moisture and chew while the eggs help set the crumb.
Using melted chocolate (not just cocoa) gives a deep flavor and that fudgy texture. A touch of cornstarch or a good 1:1 gluten-free flour blend keeps the brownies cohesive without turning cakey. Finally, the sugar dissolves in the warm butter-chocolate mixture, helping create a shiny, crackly top.
What You’ll Need
- Unsalted butter (1/2 cup, 113 g): For richness and a tender crumb.
- Bittersweet or semisweet chocolate (6 oz, 170 g), chopped: The fudgy backbone.
- Granulated sugar (3/4 cup, 150 g): Sweetness and that classic brownie top.
- Light brown sugar (1/2 cup, 100 g): Adds moisture and depth.
- Large eggs (3), room temperature: Structure and shine.
- Vanilla extract (2 teaspoons): Rounds out the chocolate flavor.
- Unsweetened cocoa powder (1/3 cup, 35 g): Boosts chocolate intensity.
- Gluten-free 1:1 baking flour (1/2 cup, 70 g): Choose a blend with xanthan gum; if your blend lacks it, add 1/4 teaspoon xanthan.
Alternatively, use 1/4 cup (30 g) cornstarch plus 1/4 cup (25 g) almond flour.
- Fine sea salt (1/2 teaspoon): Enhances flavor.
- Espresso powder (optional, 1 teaspoon): Deepens chocolate taste without making it coffee-flavored.
- Chocolate chips or chunks (optional, 1/2 cup): For extra pools of melted chocolate.
Step-by-Step Instructions
- Prep the pan: Heat oven to 350°F (175°C). Line an 8-inch square pan with parchment, leaving a 1-inch overhang on two sides for easy lifting. Lightly grease the parchment.
- Melt butter and chocolate: In a medium heatproof bowl, combine butter and chopped chocolate.
Microwave in 20–30 second bursts, stirring between each, until smooth. You can also melt over a double boiler. Let it cool for 2–3 minutes.
- Whisk in sugars: Add granulated and brown sugar to the warm chocolate mixture and whisk until glossy and thick.
This helps dissolve the sugar for that shiny top.
- Add eggs and vanilla: Whisk in eggs one at a time, beating well after each until the batter looks satiny. Whisk in vanilla and espresso powder, if using. The batter should look cohesive and slightly thick.
- Fold in dry ingredients: In a small bowl, whisk cocoa, gluten-free flour (and xanthan if needed), and salt.
Sift if lumpy. Use a spatula to fold the dry mixture into the wet just until no dry streaks remain. Do not overmix.
- Add mix-ins (optional): Fold in chocolate chips or chunks.
Keep some for the top if you like.
- Pan and smooth: Scrape batter into the prepared pan and spread evenly. If using extra chips, scatter them on top.
- Bake: Bake 22–28 minutes, depending on your oven and desired doneness. For fudgy brownies, remove when the center is just set and a toothpick comes out with moist crumbs but not wet batter. The edges will look slightly pulled away.
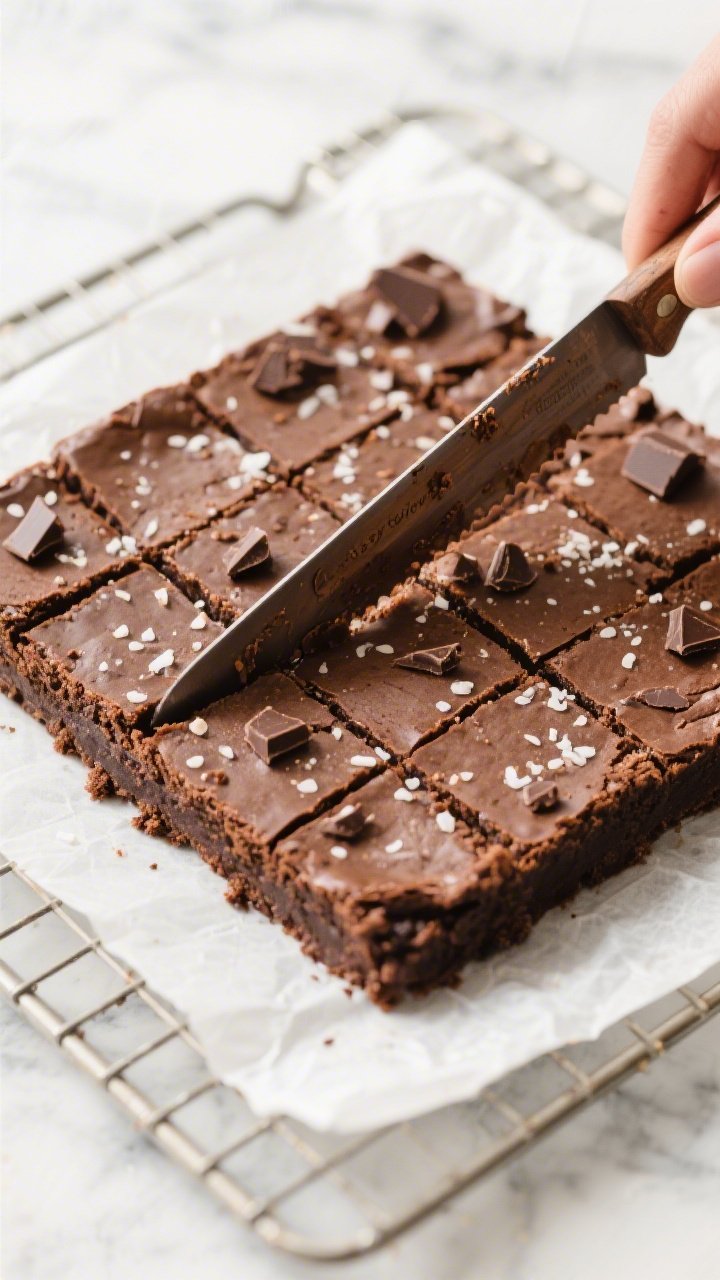
- Cool completely: Place the pan on a rack and let brownies cool fully, at least 1–2 hours.
For clean slices, chill 30 minutes before cutting. Lift out using the parchment and slice with a warm, sharp knife, wiping between cuts.
Keeping It Fresh
Once cooled and sliced, store brownies in an airtight container at room temperature for 3–4 days. To keep them extra fudgy, layer with parchment and add a small piece of bread or a few marshmallows in the container to maintain moisture.
For longer storage, freeze well-wrapped squares for up to 2 months. Thaw at room temperature or warm briefly in the microwave for that fresh-baked texture.
Benefits of This Recipe
- Truly fudgy, not cakey: The combination of melted chocolate, butter, and just enough flour ensures a dense, rich crumb.
- Simple pantry ingredients: No obscure gums or stabilizers required if your blend already includes them.
- Reliable crackly top: Beating the eggs and mixing sugars into the warm chocolate helps form that signature crust.
- Flexible flour options: Works with a 1:1 gluten-free blend or the cornstarch-almond flour combo.
- Customizable: Add nuts, chips, or swirl in peanut butter or caramel without compromising texture.
Pitfalls to Watch Out For
- Overbaking: Gluten-free brownies dry out quickly. Pull them when a toothpick shows moist crumbs.
They continue to set as they cool.
- Overmixing: Stir just until combined after adding dry ingredients. Overmixing can make the texture tough.
- Wrong flour ratio: Too much gluten-free flour can lead to a gummy or chalky bite. Measure carefully by weight if possible.
- Skipping the cool time: Slicing early makes them seem underbaked.
Cooling firms up the fudgy center.
- Super dark chocolate without extra sugar: If using very dark chocolate (85%+), the brownies may taste too bitter. Increase sugar by 2–3 tablespoons.
Alternatives
- Dairy-free: Swap butter for a high-quality vegan butter or refined coconut oil. Use dairy-free chocolate.
- No-refined sugar: Replace granulated and brown sugar with coconut sugar (same total weight).
The crust may be less shiny but still delicious.
- Nut-free: Stick with a certified nut-free 1:1 gluten-free blend and avoid almond flour. Add seeds instead of nuts for crunch.
- Egg-free: Use 3 flax eggs (1 tablespoon ground flax + 3 tablespoons water each, rested 5 minutes). Note: texture will be denser and slightly less shiny on top.
- Flavor twists: Add 1 teaspoon orange zest, a pinch of cinnamon and cayenne for a Mexican chocolate vibe, or swirl 1/3 cup peanut butter before baking.
FAQ
Can I make these brownies without cocoa powder?
You can, but they’ll lose some intensity.
If you skip cocoa, increase the chocolate to 8 ounces and reduce sugar slightly to taste. The texture remains fudgy, but the flavor will be a bit different.
What pan size works best?
An 8-inch square pan gives thicker, fudgier brownies. A 9-inch square will bake faster and produce slightly thinner brownies.
Start checking for doneness 3–5 minutes earlier with a larger pan.
How do I get a crackly top?
Whisk the sugars into the warm melted chocolate and butter, and beat the eggs well until the batter is glossy. This helps form a thin, shiny meringue-like crust as the brownies bake.
Can I add nuts?
Yes. Stir in up to 3/4 cup chopped toasted walnuts or pecans in step 6.
Toasting the nuts first boosts flavor and keeps them crunchy.
Is this recipe safe for celiac disease?
Use certified gluten-free ingredients and a dedicated gluten-free 1:1 flour. Check labels on chocolate, cocoa powder, and vanilla to avoid cross-contamination. If your kitchen isn’t fully gluten-free, take extra care with utensils and pans.
How do I know when they’re done?
The edges should look set and slightly pulled from the pan, and a toothpick inserted near the center should come out with moist crumbs, not wet batter.
If in doubt, err on the side of slightly underbaked.
Can I double the recipe?
Yes. Bake in a 9×13-inch pan. Expect a 25–35 minute bake time, watching the center closely.
Rotate the pan halfway through for even baking.
In Conclusion
These gluten-free brownies deliver everything you love about classic brownies with none of the compromise. They’re rich, fudgy, and easy to make with everyday ingredients. Whether you keep them simple or add your favorite mix-ins, you’ll end up with a pan of seriously good brownies that just happen to be gluten-free.
Keep this recipe handy—you’ll want it on repeat.
Printable Recipe Card
Want just the essential recipe details without scrolling through the article? Get our printable recipe card with just the ingredients and instructions.