
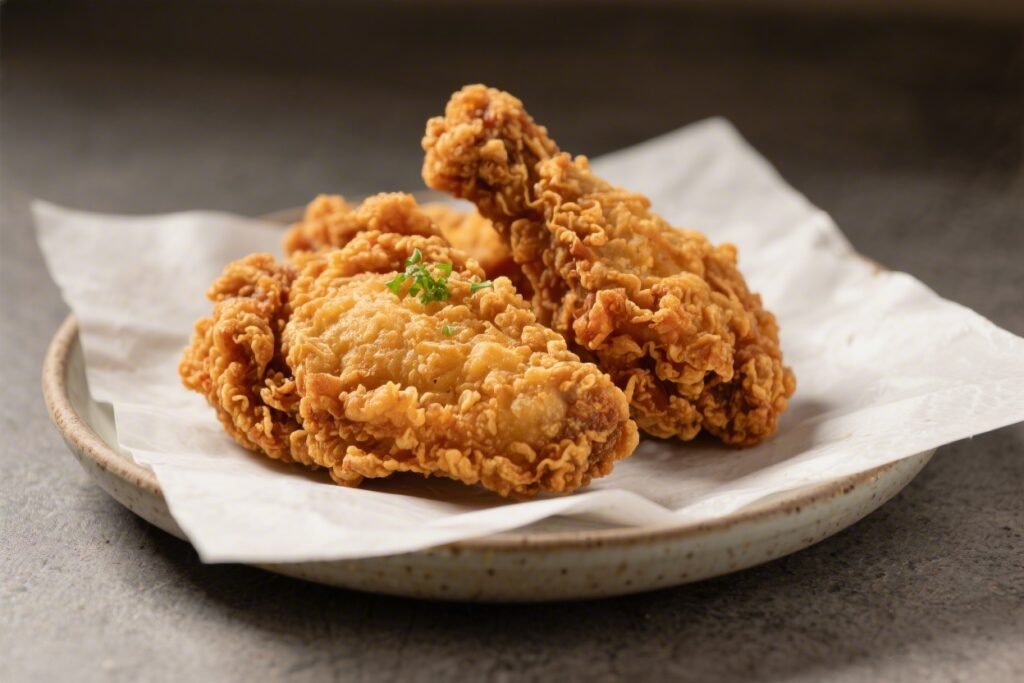
Fried chicken doesn’t have to be off the table just because you’re avoiding gluten. This gluten-free version gives you shatteringly crisp skin and juicy meat without the fuss. You’ll get familiar pantry ingredients, simple techniques, and restaurant-quality results at home.
Whether you’re cooking for a gluten-free guest or you’re eating gluten-free every day, this recipe hits all the right notes. Grab a skillet, heat some oil, and let’s make the kind of fried chicken that disappears fast.

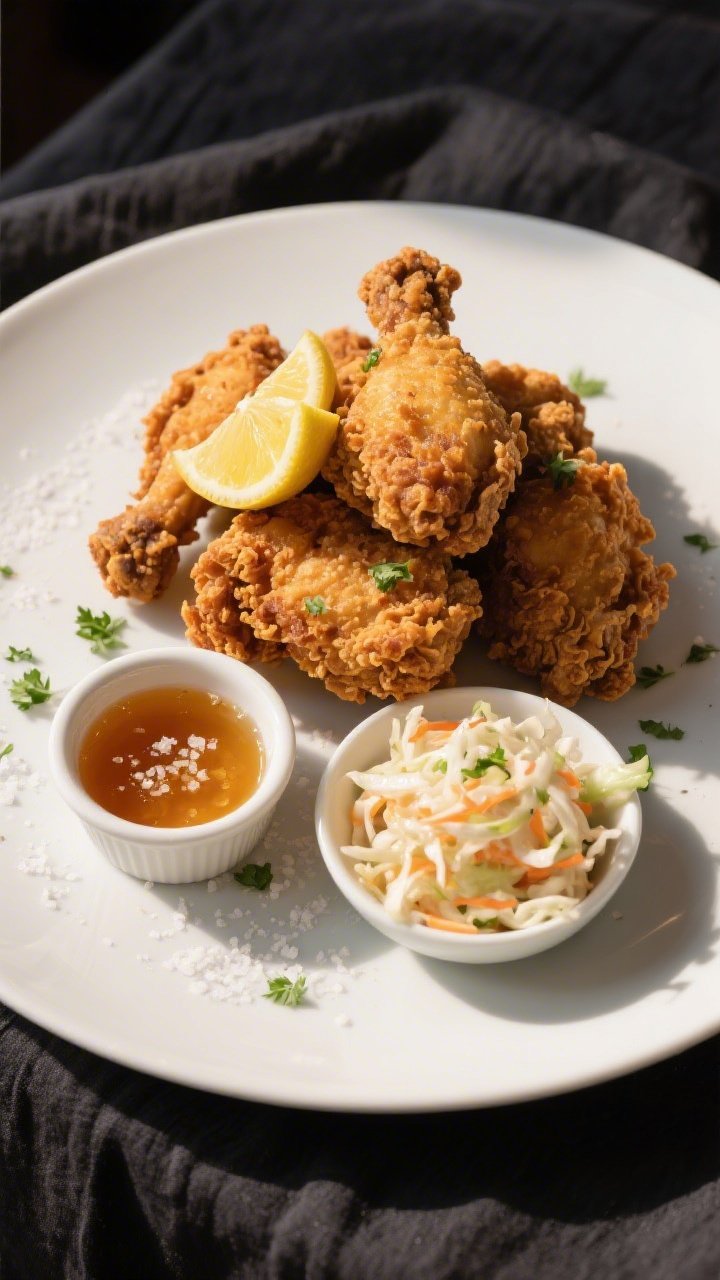
Gluten-Free Fried Chicken - Crispy, Juicy, and Easy to Make
Ingredients
- 2 to 2.5 pounds chicken pieces (drumsticks, thighs, breasts, or wings)
- 2 cups buttermilk (or dairy-free milk + 1 tablespoon lemon juice)
- 2 cups vegetable oil, peanut oil, or canola oil for frying
- 1 cup white rice flour (or brown rice flour)
- 1/2 cup cornstarch or potato starch
- 1/2 cup fine cornmeal (optional for extra crunch)
- 2 teaspoons kosher salt (plus more for finishing)
- 1 teaspoon black pepper
- 1 teaspoon paprika
- 1 teaspoon garlic powder
- 1 teaspoon onion powder
- 1/2 teaspoon cayenne pepper (optional, for heat)
- 2 large eggs
- 1 tablespoon hot sauce (optional, for the brine)
- Lemon wedges, honey, or your favorite dipping sauce (optional, for serving)
Instructions
- Prep the chicken. Pat the chicken pieces dry with paper towels. Trimming excess skin or fat helps the crust stick and crisp better.
- Make the buttermilk brine. In a large bowl, whisk buttermilk with 1 teaspoon salt, black pepper to taste, and hot sauce if using.Submerge the chicken, cover, and refrigerate for at least 1 hour and up to 12 hours. Longer brining means juicier chicken.
- Set up the dredging station. In a shallow dish, combine rice flour, cornstarch, cornmeal (if using), 1 teaspoon salt, paprika, garlic powder, onion powder, and cayenne. In a second bowl, whisk the eggs until smooth.
- Heat the oil. Pour 1 to 1.5 inches of oil into a heavy skillet or Dutch oven. Bring to 350°F (175°C) over medium heat.Use a thermometer if possible; steady heat makes or breaks fried chicken.
- Shake off excess brine. Remove a few chicken pieces from the buttermilk. Let the extra drip off so the coating doesn’t get gummy.
- Dredge and dip. Coat each piece in the seasoned flour mix, dip in the beaten eggs, then coat again in the flour mix. Press gently so the crust adheres.Place coated pieces on a wire rack for 5 minutes to set.
- Fry in batches. Carefully lower the chicken into hot oil, leaving space between pieces. Fry dark meat for about 12–15 minutes and white meat for 10–12 minutes, turning once. Adjust heat to keep oil near 325–350°F.
- Check for doneness. Use an instant-read thermometer; the center should reach 165°F (74°C).The crust should be deep golden and crisp.
- Drain and season. Transfer to a wire rack over a sheet pan. Sprinkle a pinch of salt while hot. This locks in flavor and keeps the crust snappy.
- Rest briefly. Let the chicken rest 5–7 minutes before serving.This helps the juices settle and the crust firm up.
Why This Recipe Works
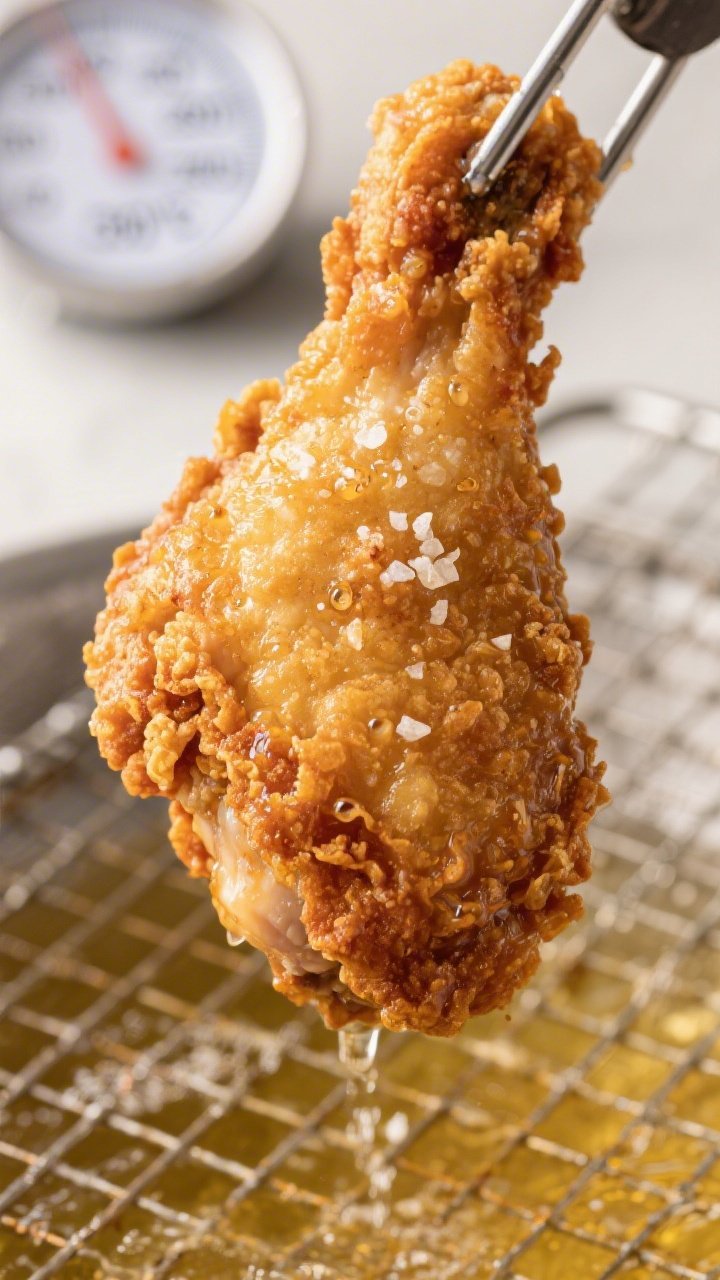
This recipe leans on a smart mix of gluten-free flours and starches to mimic the crunch of traditional fried chicken. Rice flour brings lightness, while cornstarch or potato starch adds that classic crackle. A quick buttermilk brine tenderizes the meat and adds flavor from the inside out, so every bite stays juicy.
We season the dredge well to ensure the crust tastes as good as it looks. And by frying at the right temperature, you avoid greasy chicken and get golden perfection.
Shopping List
- 2 to 2.5 pounds chicken pieces (drumsticks, thighs, breasts, or wings)
- 2 cups buttermilk (or dairy-free milk + 1 tablespoon lemon juice)
- 2 cups vegetable oil, peanut oil, or canola oil for frying
- 1 cup white rice flour (or brown rice flour)
- 1/2 cup cornstarch or potato starch
- 1/2 cup fine cornmeal (optional for extra crunch)
- 2 teaspoons kosher salt (plus more for finishing)
- 1 teaspoon black pepper
- 1 teaspoon paprika
- 1 teaspoon garlic powder
- 1 teaspoon onion powder
- 1/2 teaspoon cayenne pepper (optional, for heat)
- 2 large eggs
- 1 tablespoon hot sauce (optional, for the brine)
- Lemon wedges, honey, or your favorite dipping sauce (optional, for serving)
Step-by-Step Instructions
- Prep the chicken. Pat the chicken pieces dry with paper towels. Trimming excess skin or fat helps the crust stick and crisp better.
- Make the buttermilk brine. In a large bowl, whisk buttermilk with 1 teaspoon salt, black pepper to taste, and hot sauce if using.
Submerge the chicken, cover, and refrigerate for at least 1 hour and up to 12 hours. Longer brining means juicier chicken.
- Set up the dredging station. In a shallow dish, combine rice flour, cornstarch, cornmeal (if using), 1 teaspoon salt, paprika, garlic powder, onion powder, and cayenne. In a second bowl, whisk the eggs until smooth.
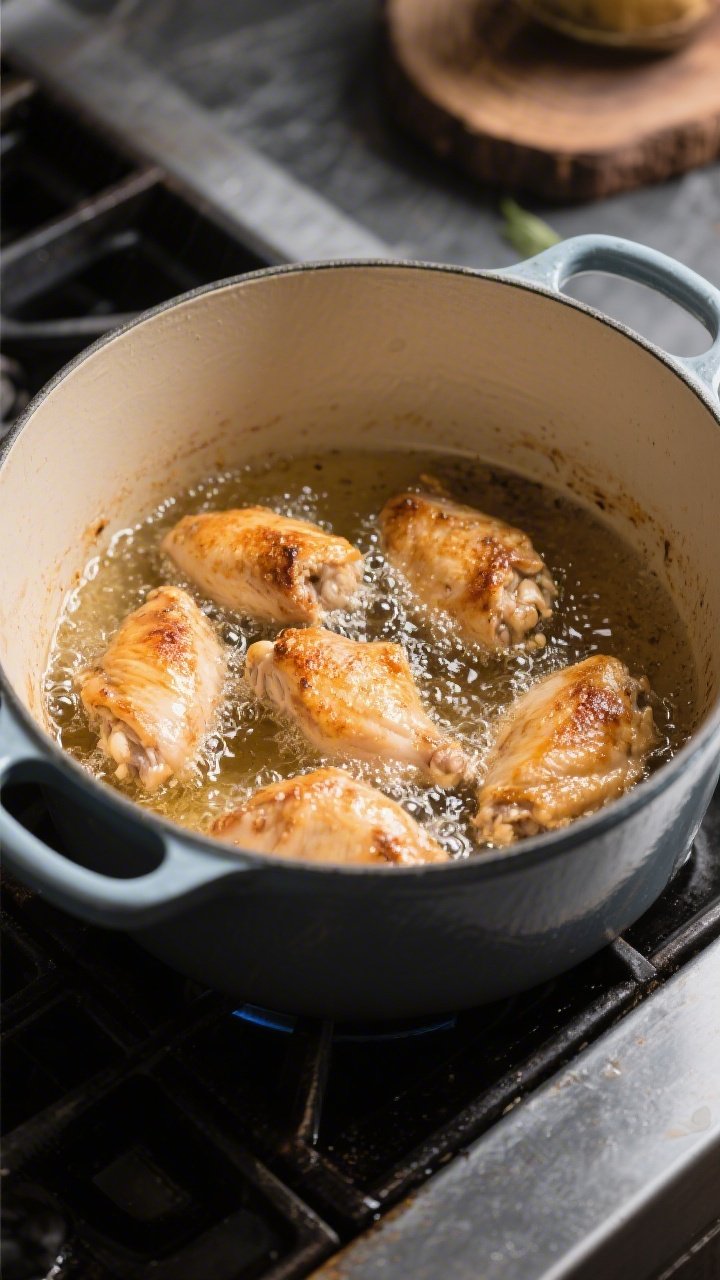
- Heat the oil. Pour 1 to 1.5 inches of oil into a heavy skillet or Dutch oven. Bring to 350°F (175°C) over medium heat.
Use a thermometer if possible; steady heat makes or breaks fried chicken.
- Shake off excess brine. Remove a few chicken pieces from the buttermilk. Let the extra drip off so the coating doesn’t get gummy.
- Dredge and dip. Coat each piece in the seasoned flour mix, dip in the beaten eggs, then coat again in the flour mix. Press gently so the crust adheres.
Place coated pieces on a wire rack for 5 minutes to set.
- Fry in batches. Carefully lower the chicken into hot oil, leaving space between pieces. Fry dark meat for about 12–15 minutes and white meat for 10–12 minutes, turning once. Adjust heat to keep oil near 325–350°F.
- Check for doneness. Use an instant-read thermometer; the center should reach 165°F (74°C).
The crust should be deep golden and crisp.
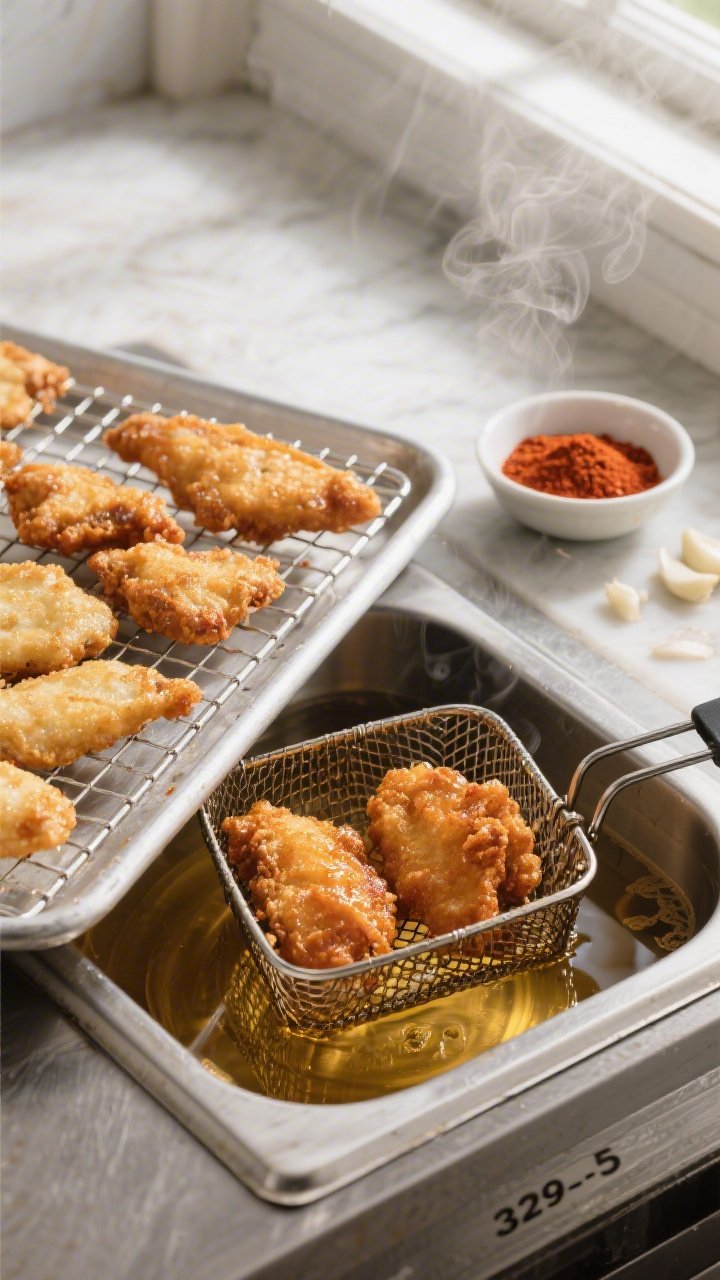
- Drain and season. Transfer to a wire rack over a sheet pan. Sprinkle a pinch of salt while hot. This locks in flavor and keeps the crust snappy.
- Rest briefly. Let the chicken rest 5–7 minutes before serving.
This helps the juices settle and the crust firm up.
Keeping It Fresh
Leftovers keep their best texture when stored correctly. Cool the chicken fully on a wire rack, then refrigerate in a paper towel–lined container for up to 3 days. To reheat, use a 375°F (190°C) oven or air fryer for 10–12 minutes until hot and crisp.
Avoid the microwave if possible—it softens the crust. For freezing, wrap individual pieces tightly and store up to 2 months. Reheat from frozen at 400°F (205°C) for 20–25 minutes, flipping once.
Benefits of This Recipe
- 100% gluten-free. No wheat flour anywhere, so it’s safe for gluten-sensitive eaters when cross-contact is avoided.
- Crunch factor. Rice flour and starch replicate the classic crackle you expect from great fried chicken.
- Flexible and forgiving. Works with any cut of chicken, bone-in or boneless, and adapts to your spice preferences.
- Pantry-friendly. Uses ingredients you can find at most grocery stores, with simple swaps if needed.
- Meal-prep friendly. Great hot or cold, and reheats well without going soggy when you use the oven or air fryer.
What Not to Do
- Don’t skip the brine. It seasons and tenderizes.
Without it, the chicken can taste flat and dry.
- Don’t crowd the pan. Too many pieces drop the oil temperature and lead to greasy, pale crust.
- Don’t eyeball the heat. Frying too hot burns the crust before the meat cooks; too cool gives you oil-soaked chicken.
- Don’t use only one coating. The flour-egg-flour sequence creates a sturdy, crisp crust that clings well.
- Don’t forget about cross-contact. Keep gluten-free tools, bowls, and oil separate from anything that has touched wheat.
Alternatives
- Dairy-free brine: Use unsweetened almond, oat, or soy milk with 1 tablespoon lemon juice or vinegar per cup. Let it sit 5 minutes to slightly thicken.
- Flour swap: Try a 1:1 blend of rice flour + tapioca starch for extra stretch and crunch. Sorghum flour adds a subtle wheat-like flavor.
- Oven “fried” option: Coat chicken as directed, spray generously with oil, and bake at 425°F (220°C) on a wire rack over a sheet pan for 35–45 minutes, turning once.
It won’t be identical, but it’s crisp and lighter.
- Air fryer method: Preheat to 375°F (190°C). Lightly spray coated chicken with oil. Cook 22–28 minutes for bone-in pieces, 12–16 minutes for tenders, turning and spraying again halfway.
- Spice variations: Swap paprika for smoked paprika, add dried thyme and mustard powder, or go Nashville-style with cayenne and a honey-hot glaze.
FAQ
Can I use a gluten-free all-purpose flour blend?
Yes.
Many 1:1 gluten-free blends work well, especially those with rice flour and starch. Still add some extra cornstarch or potato starch (about 1/4 cup per cup of blend) for maximum crispness.
What oil is best for frying?
Use a neutral, high-heat oil like peanut, canola, vegetable, or rice bran oil. These stay stable at frying temperatures and won’t overpower the seasoning.
Do I need a thermometer?
You’ll get better, more consistent results with one.
Oil should stay near 325–350°F, and chicken is done at 165°F internally. Without a thermometer, it’s easy to undercook or over-brown.
How do I avoid a gummy coating?
Let excess buttermilk drip off, coat thoroughly, and rest the coated pieces on a rack for a few minutes before frying. Keeping the oil hot and not overcrowding the pan also prevents soggy crust.
Can I make it spicy without overwhelming heat?
Add a little cayenne to the dredge and hot sauce to the brine, then finish with a drizzle of hot honey.
You’ll get warmth and balance without a heavy burn.
Is this safe for celiac disease?
It can be, as long as every ingredient is certified gluten-free and you avoid cross-contact. Use clean oil, separate utensils, and a dedicated fryer or a thoroughly cleaned pan.
What cuts of chicken work best?
Thighs and drumsticks are the most forgiving and stay juicy. Breasts cook a bit faster, so monitor closely.
Wings are great for snacks and get extra crisp.
Can I season the chicken instead of the flour?
Do both. Seasoning the brine and the dredge layers flavor inside and out. This gives you well-seasoned meat and a tasty crust.
How do I keep the breading from falling off?
Pat the chicken dry, follow the flour-egg-flour method, press the coating on gently, and rest the coated pieces before frying.
Turn them carefully with tongs and avoid fiddling too much.
What side dishes pair well?
Think slaw, mashed potatoes, corn on the cob, biscuits (gluten-free), or a simple green salad. A squeeze of lemon or a tangy dipping sauce brightens everything.
Final Thoughts
Gluten-free fried chicken can taste every bit as satisfying as the classic version. With the right coating mix, steady oil temperature, and a short buttermilk brine, you get crisp, well-seasoned crust and tender meat every time.
Keep the process simple, don’t rush the heat, and give the chicken a brief rest before serving. Once you try this method, it’ll become your go-to for family dinners, game days, and any night that calls for a little extra crunch.
Printable Recipe Card
Want just the essential recipe details without scrolling through the article? Get our printable recipe card with just the ingredients and instructions.